Set Up Your Profile
Profile Setup
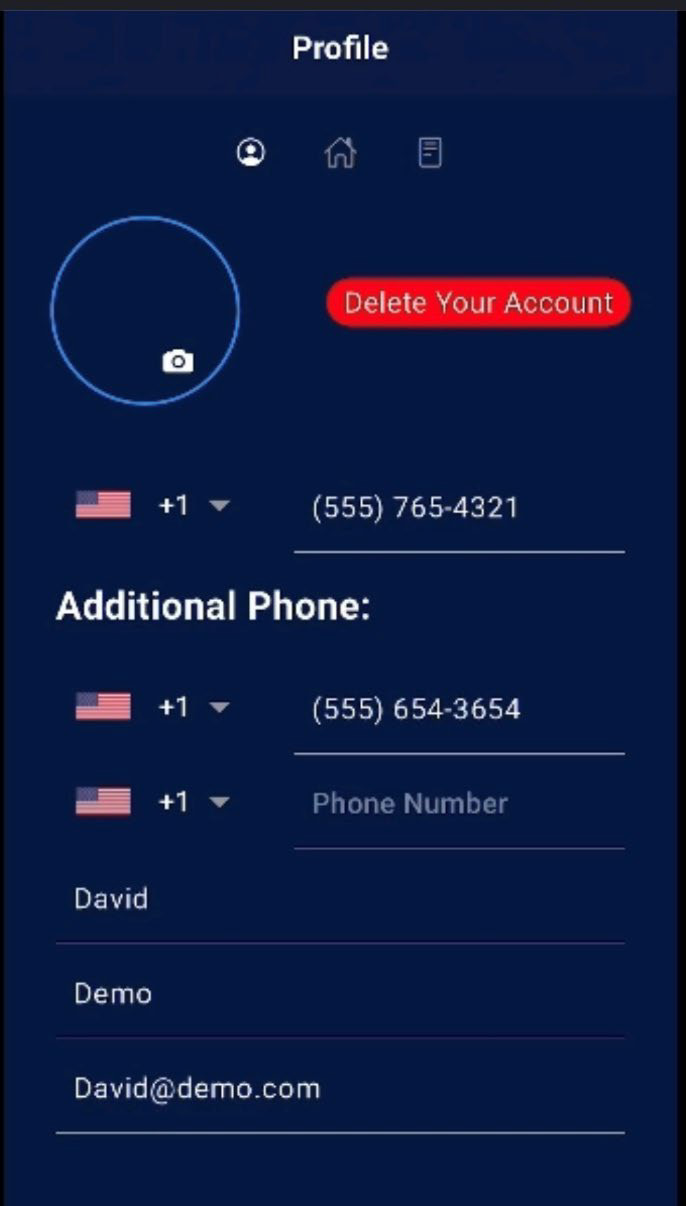
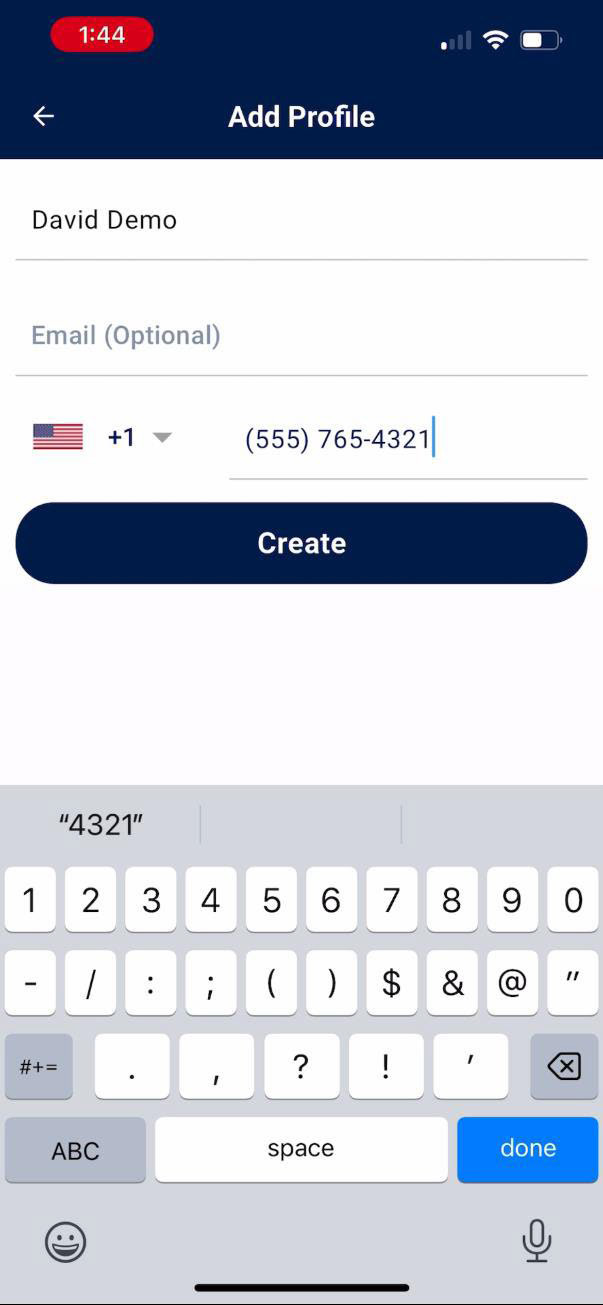
General Information
Check that the information on Page 1 of your Profile is accurate. You can also add up to 2 additional phone numbers for the officers to call you at.
Press “NEXT”.
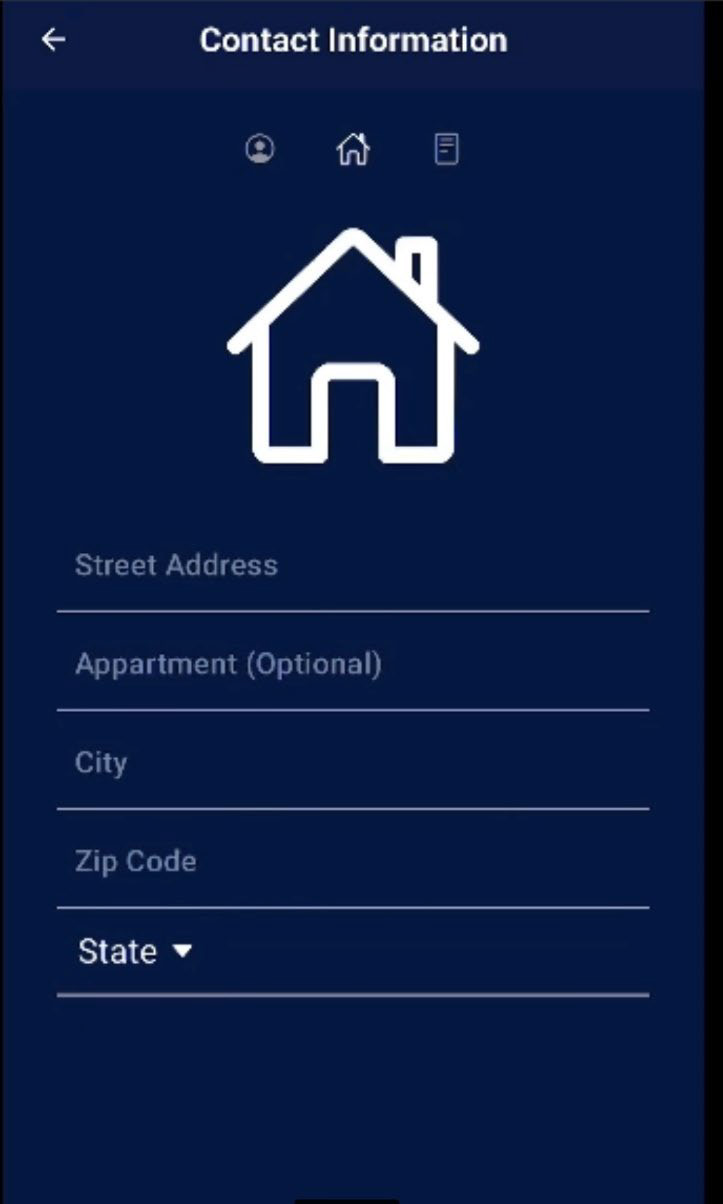
Contact Information
On the Contact Information Page, enter the address of the unit of the community ZUUL is being used in.
You may need to press in the middle of the screen after you select the state, in order to remove the keyboard.
Press “NEXT”.
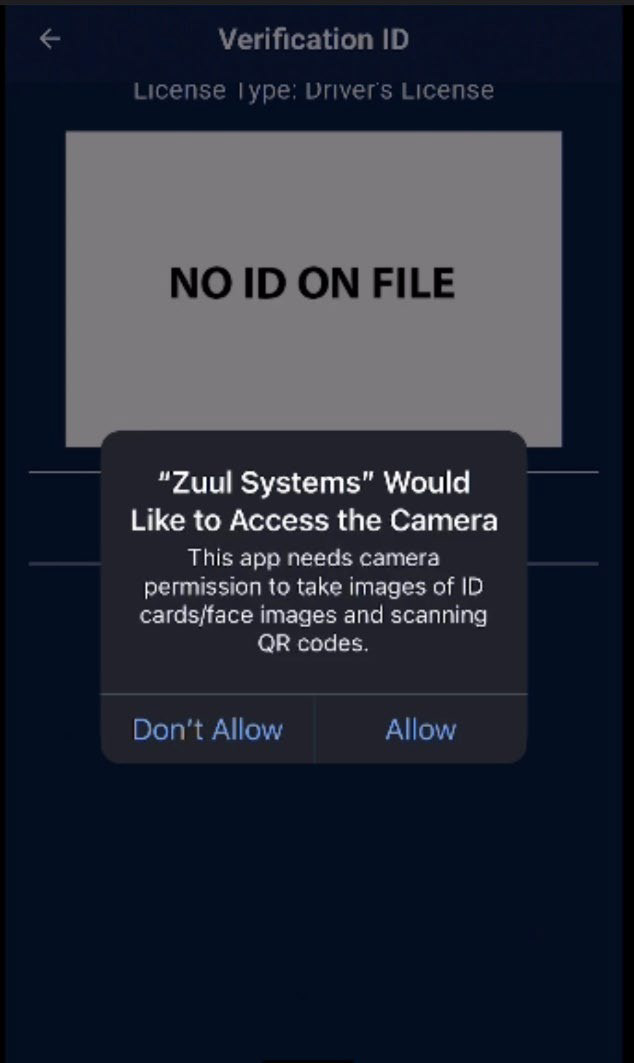
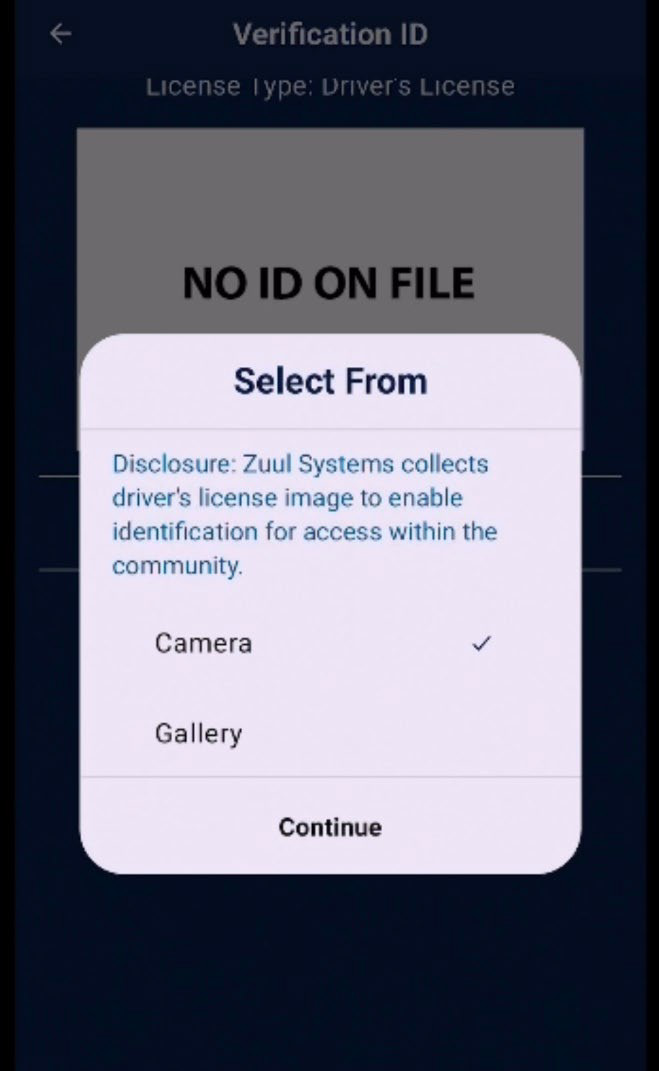
Upload License
The last page of your profile requests that you upload an image of your driver’s license.
Import Contacts
Import Contacts from Cell Phone
How to Import Contacts
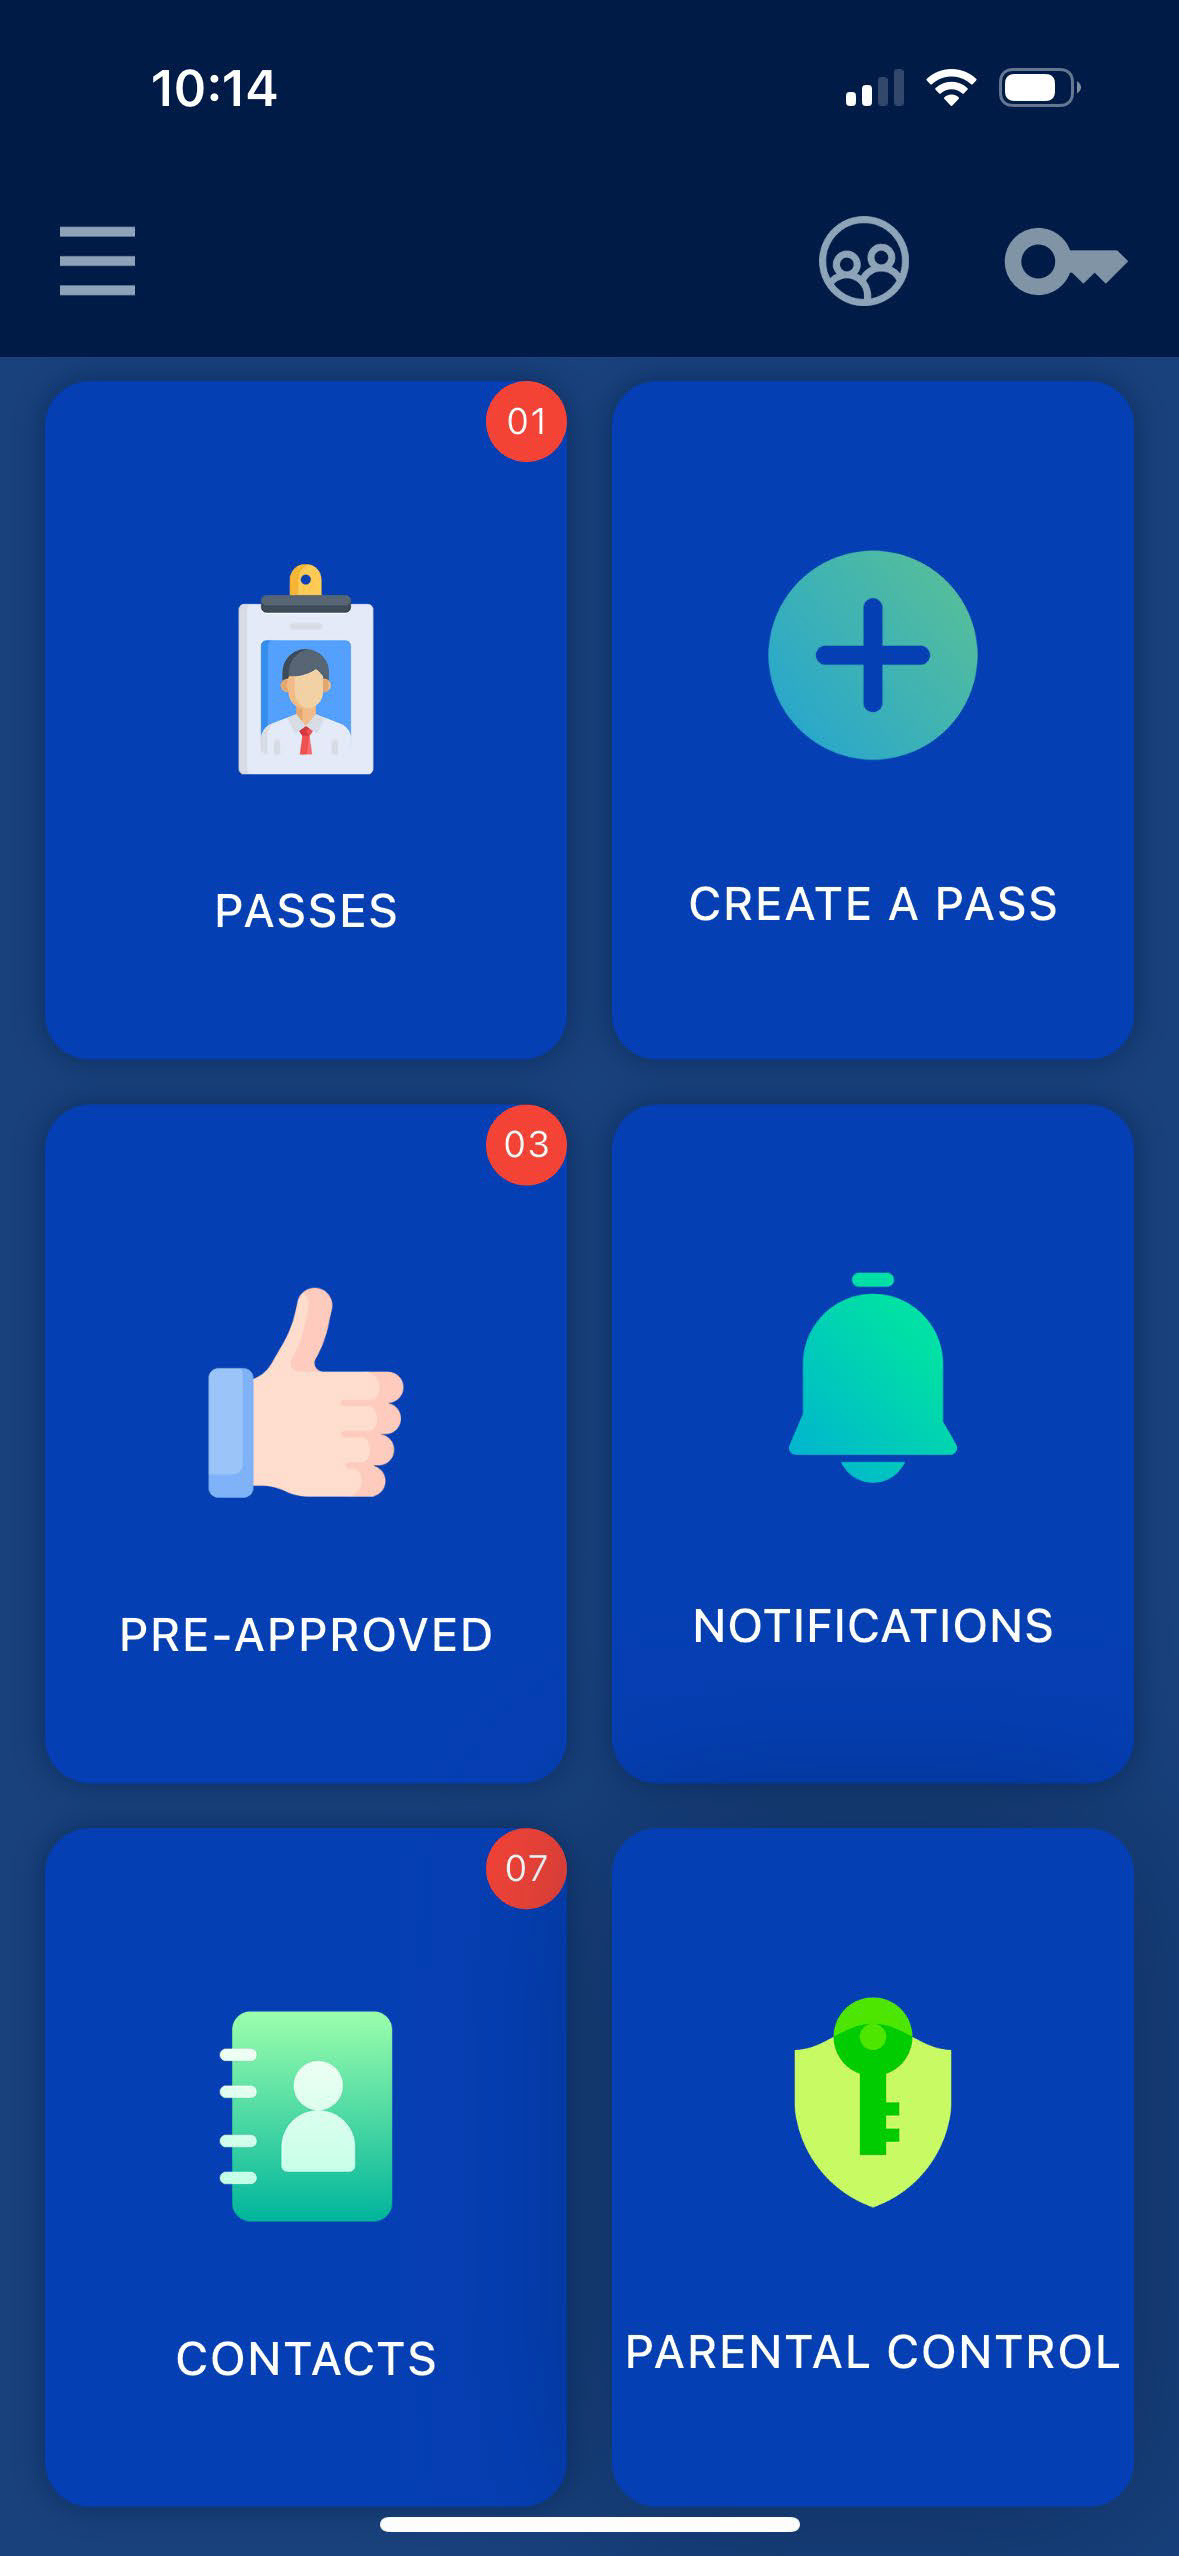
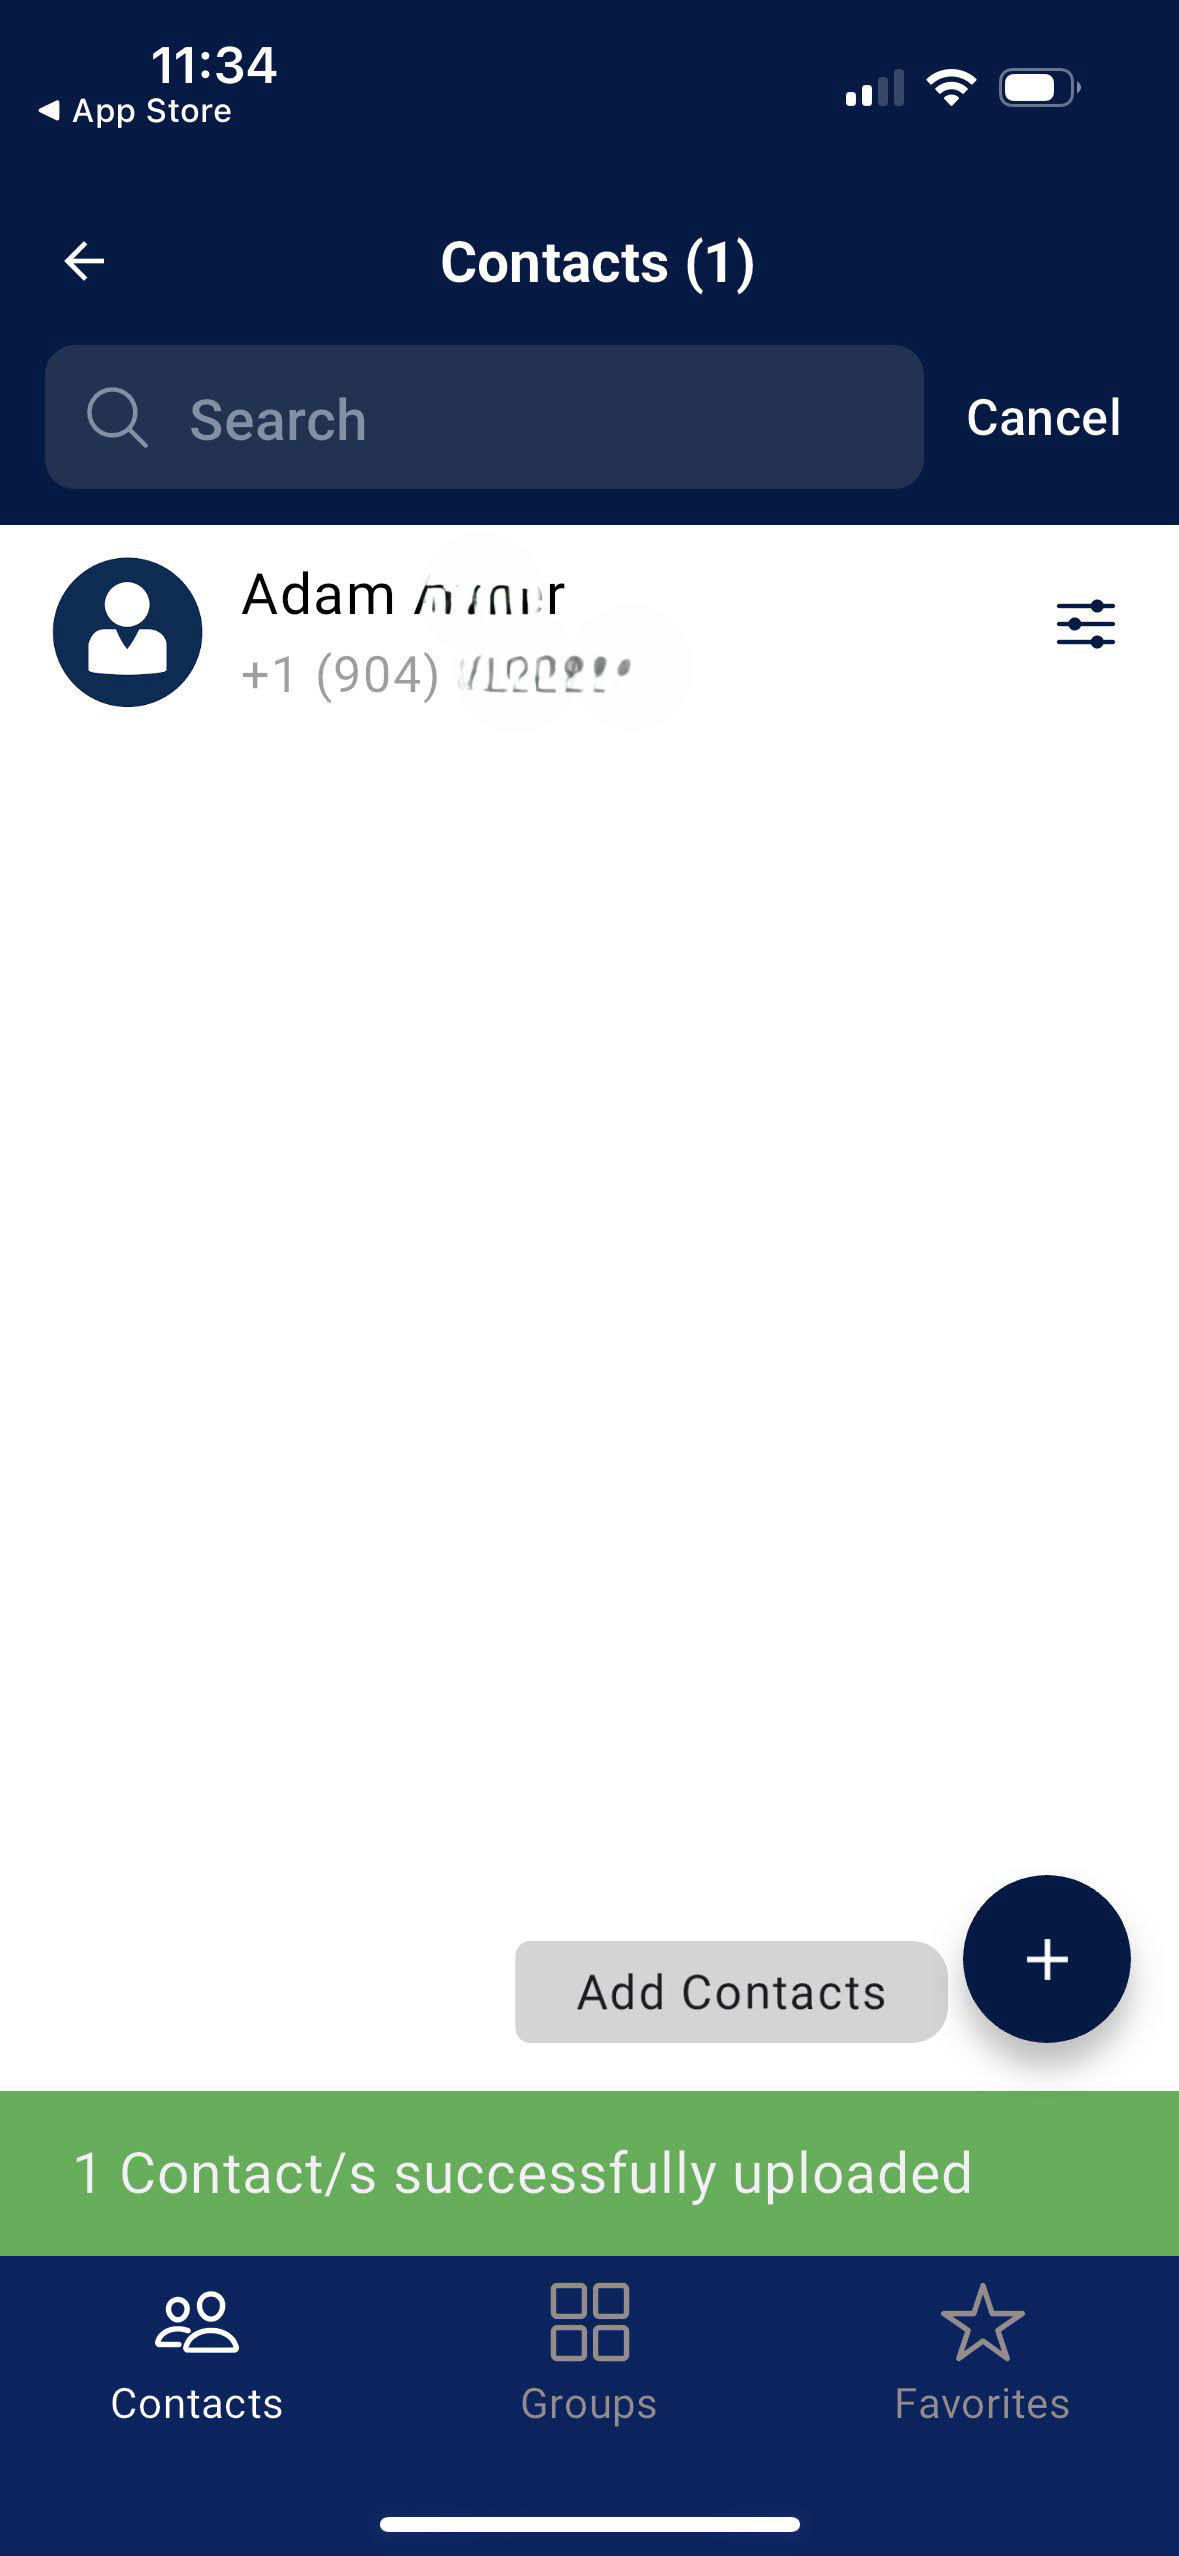
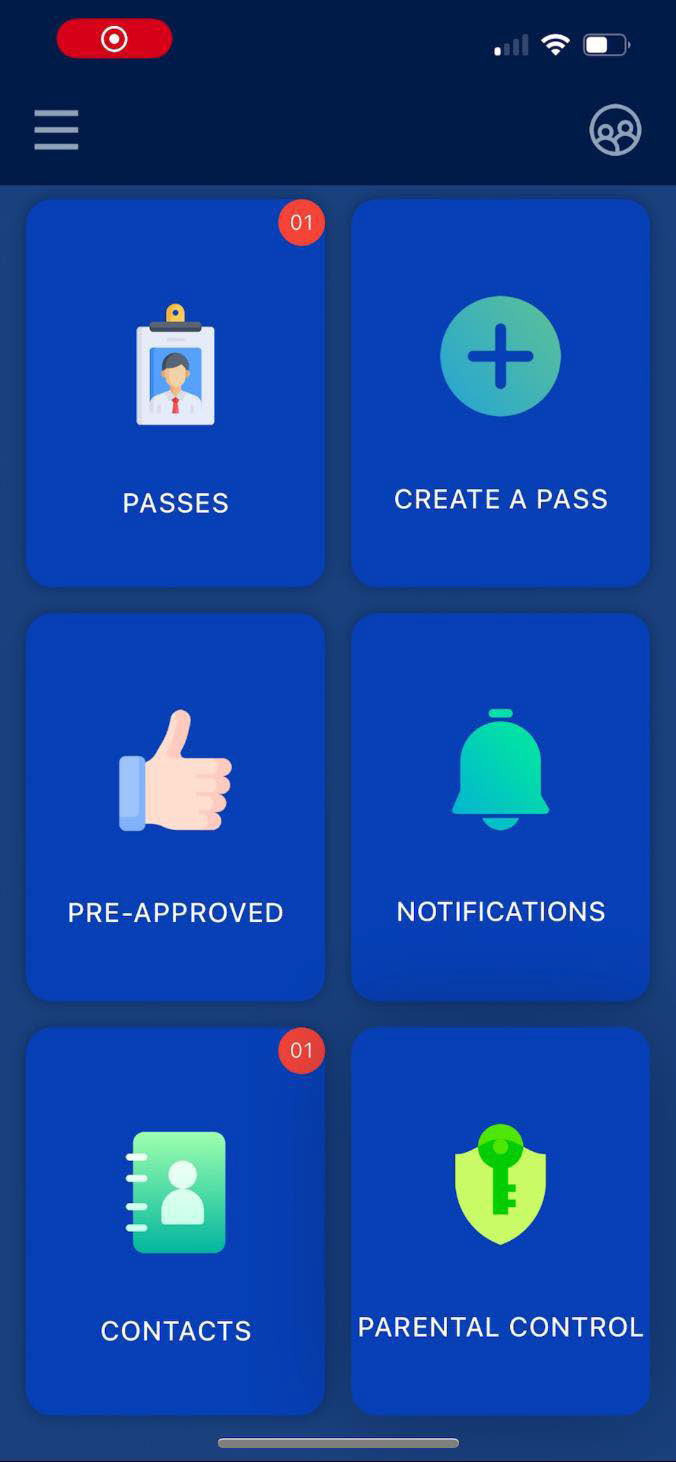
Go to your ZUUL Systems Dashboard and Press the “CONTACTS” Tile.
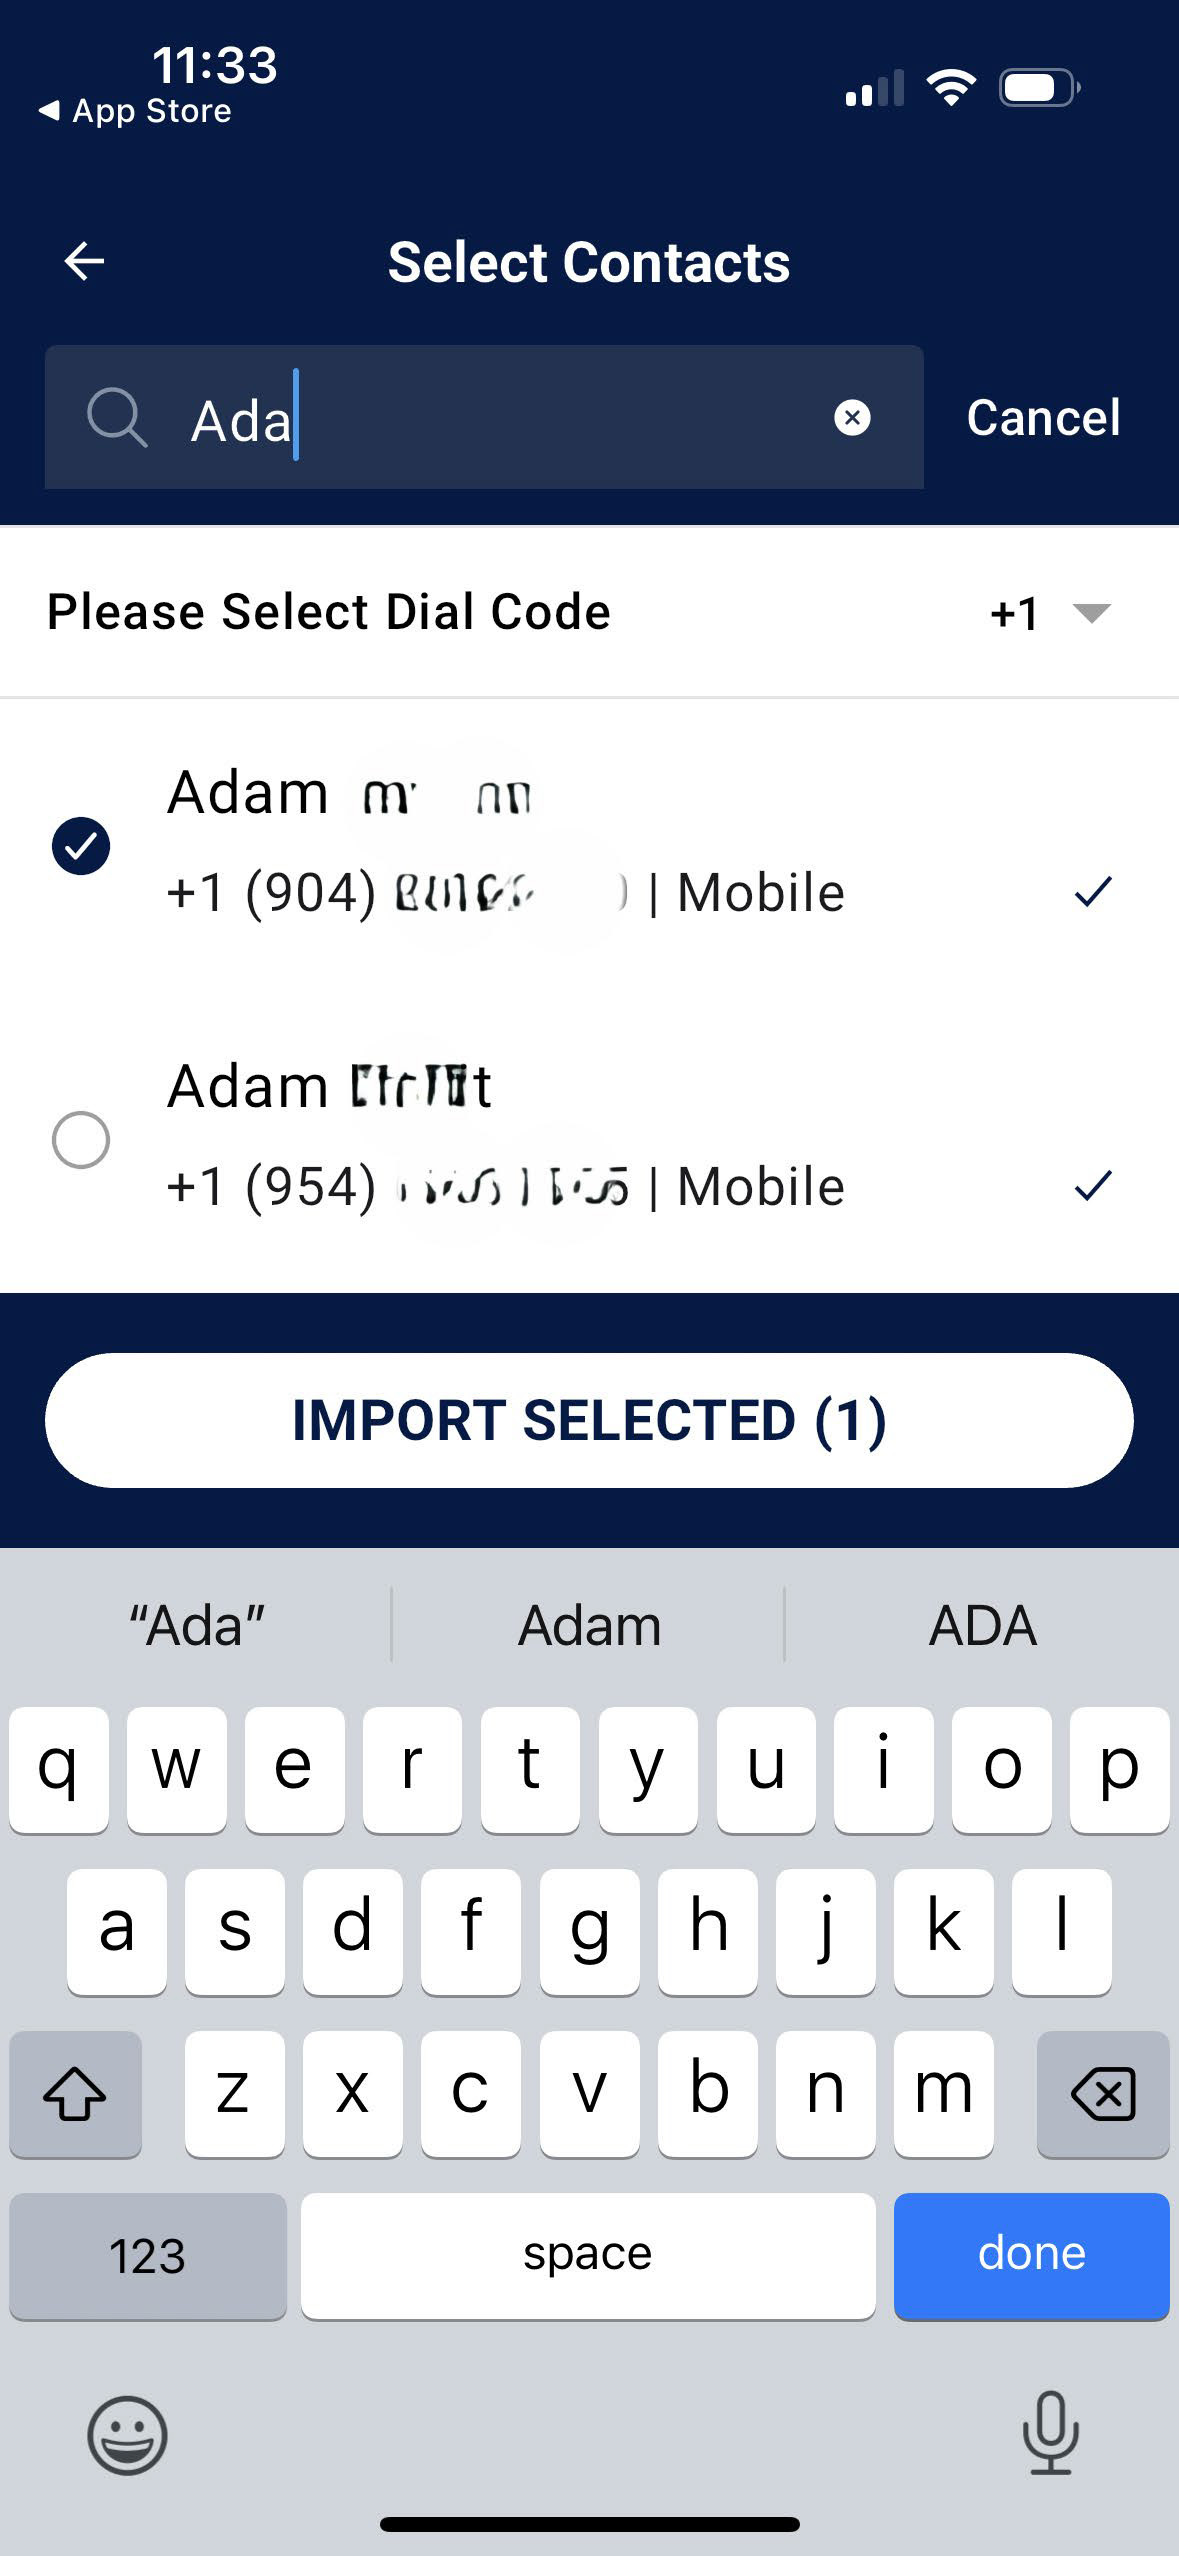
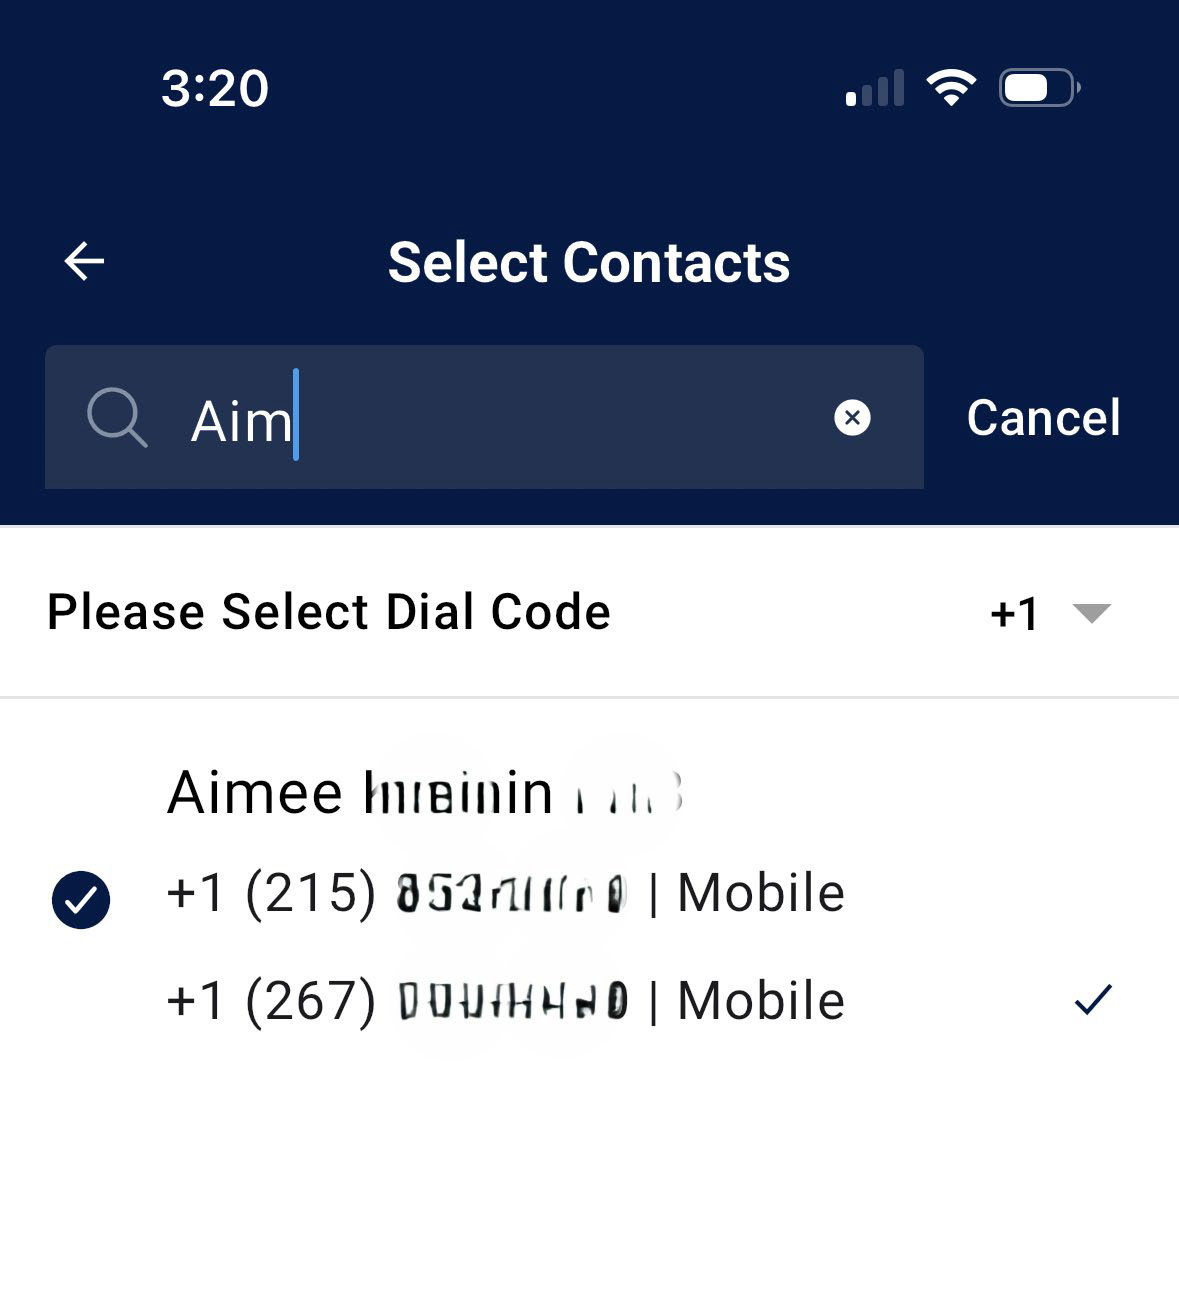
Selecting and Importing Contacts
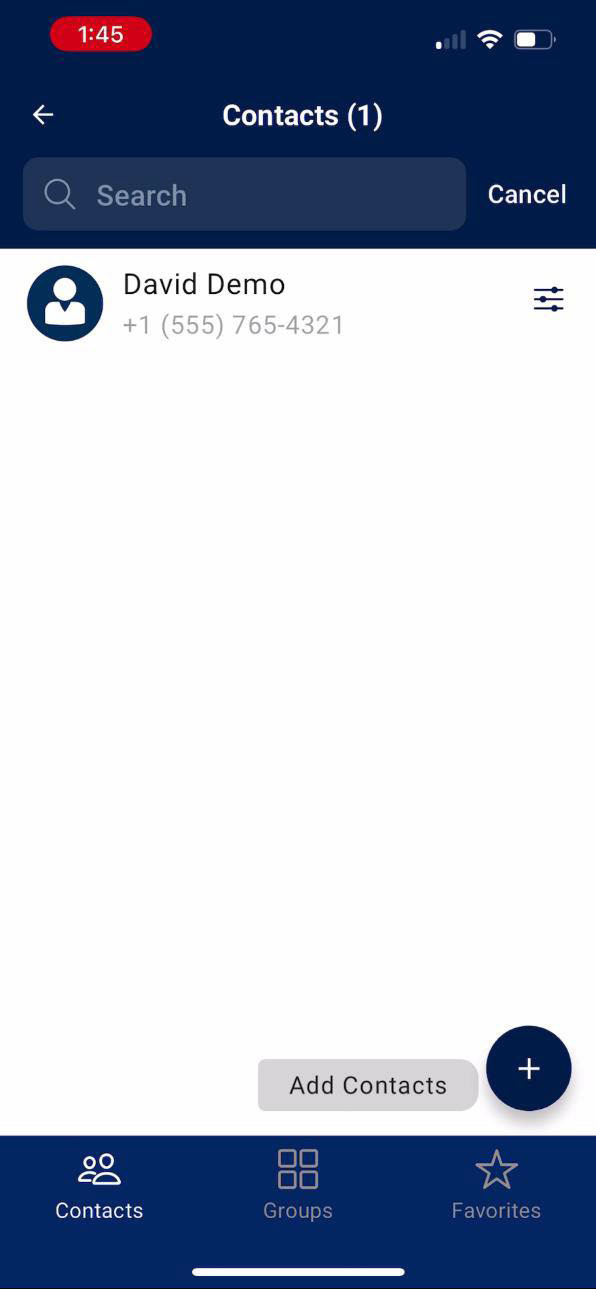
Your contacts will be displayed in order by First Name. A checkmark will be shown next to the phone number you would import, if you select that individual.
Sending a One-Time Use Pass via Text
One-Time Use Pass
Sending a One-Time Use Pass via Text
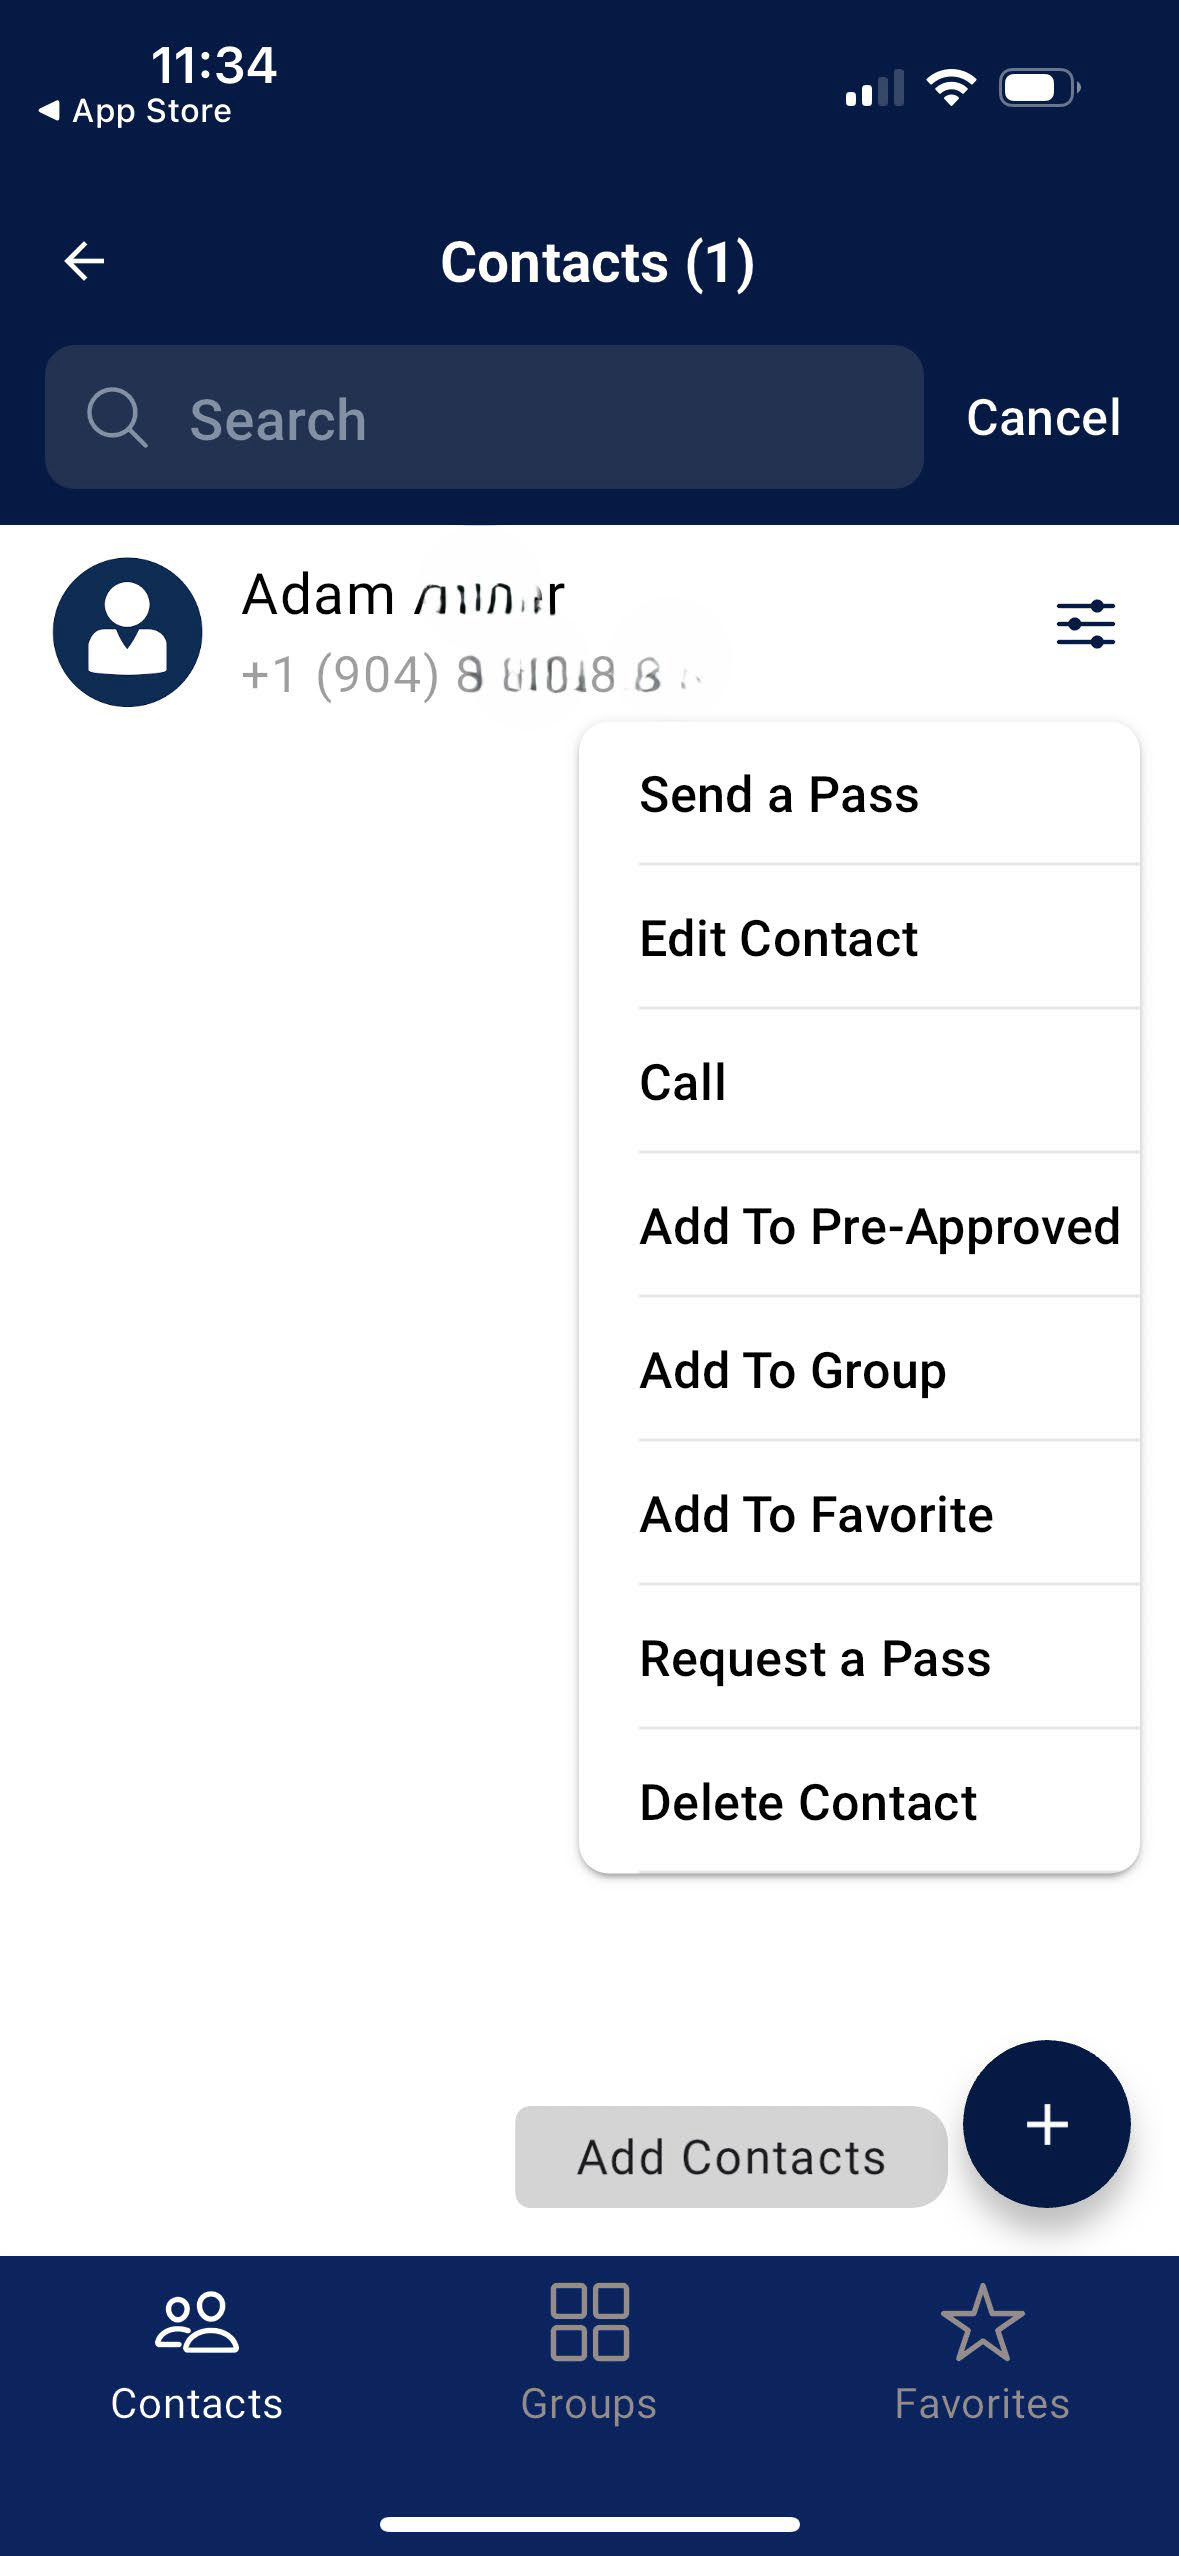
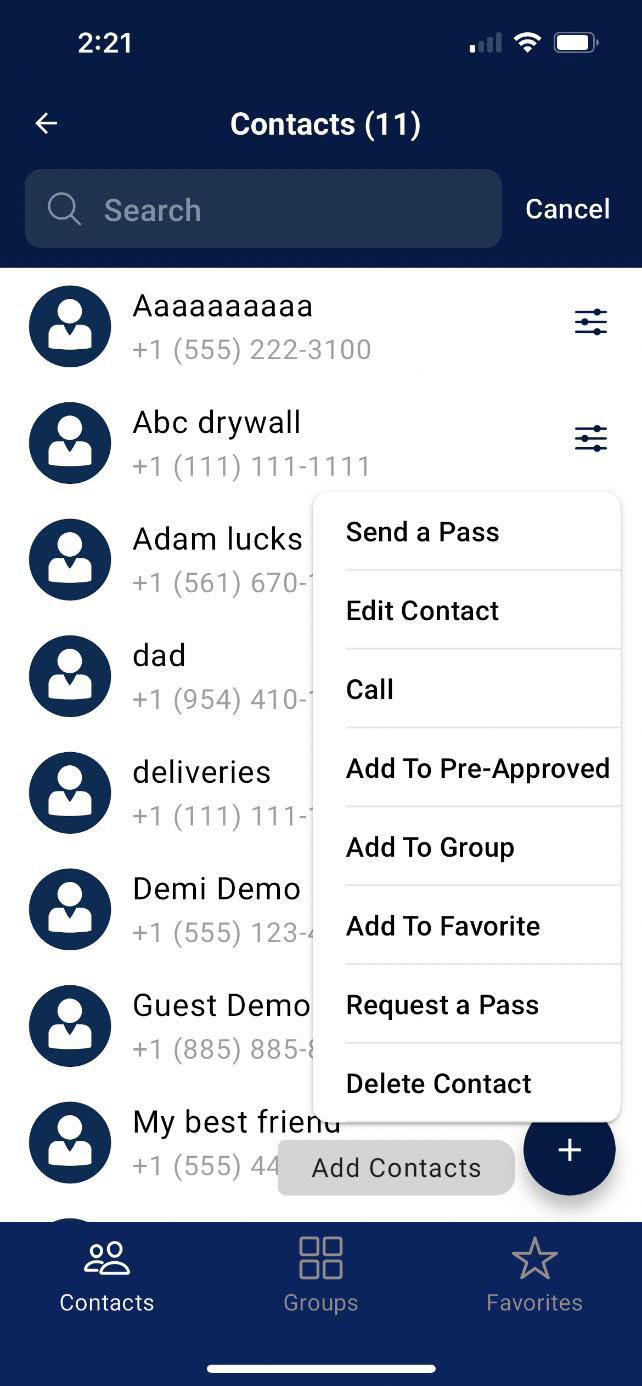
PRESS on the menu tab to the right of your contact.
PRESS Send a Pass.
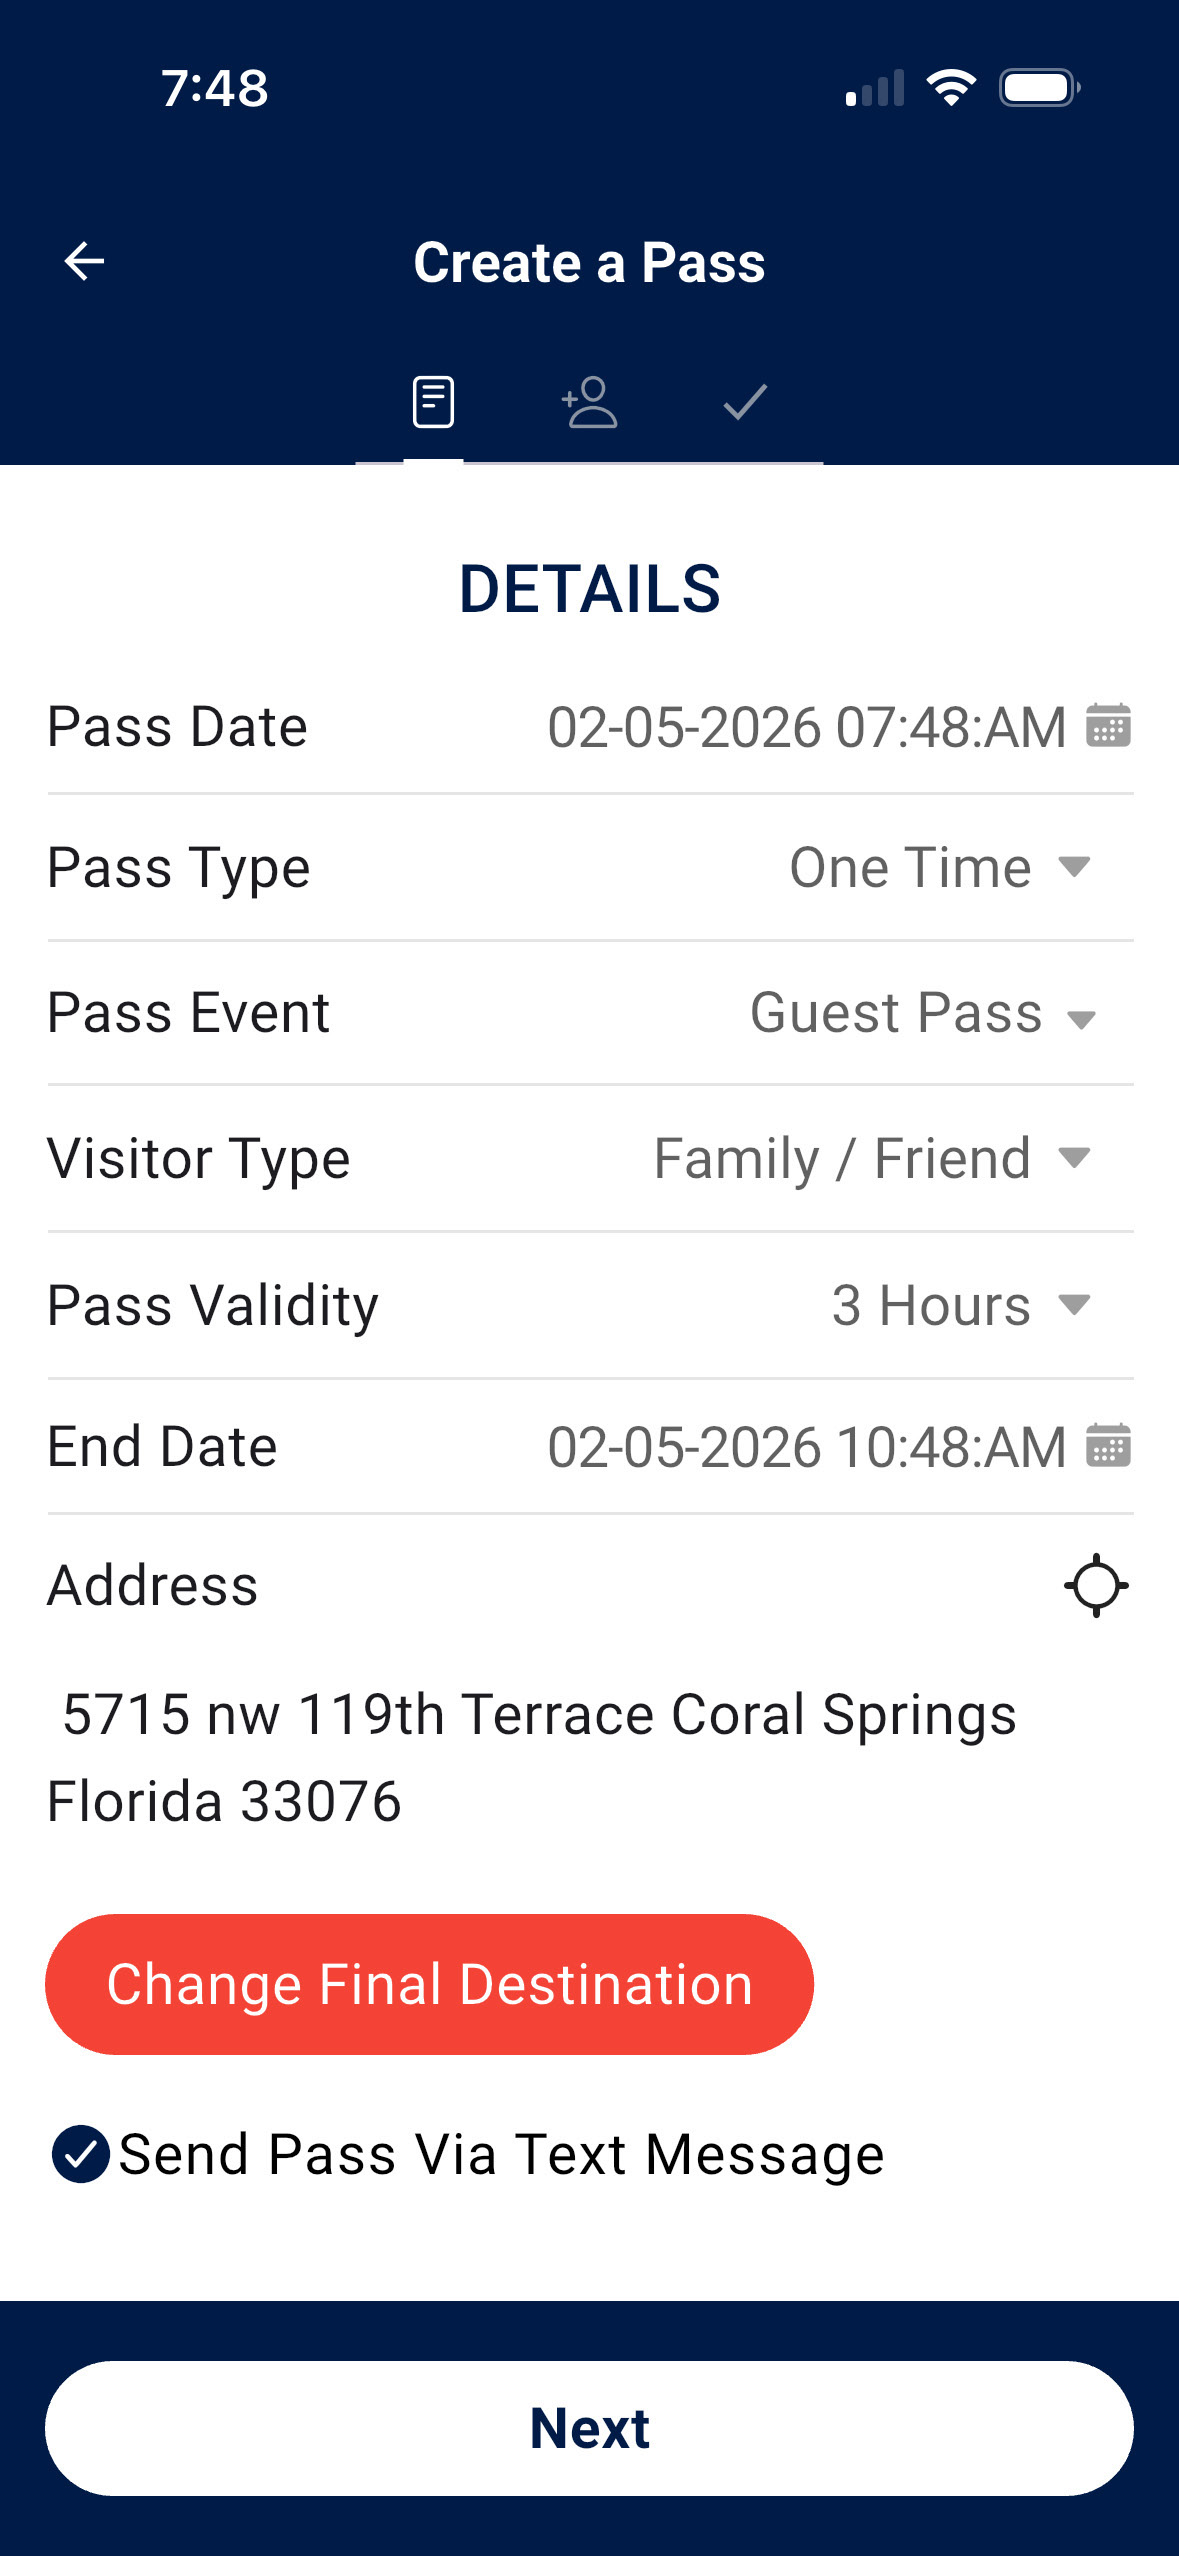
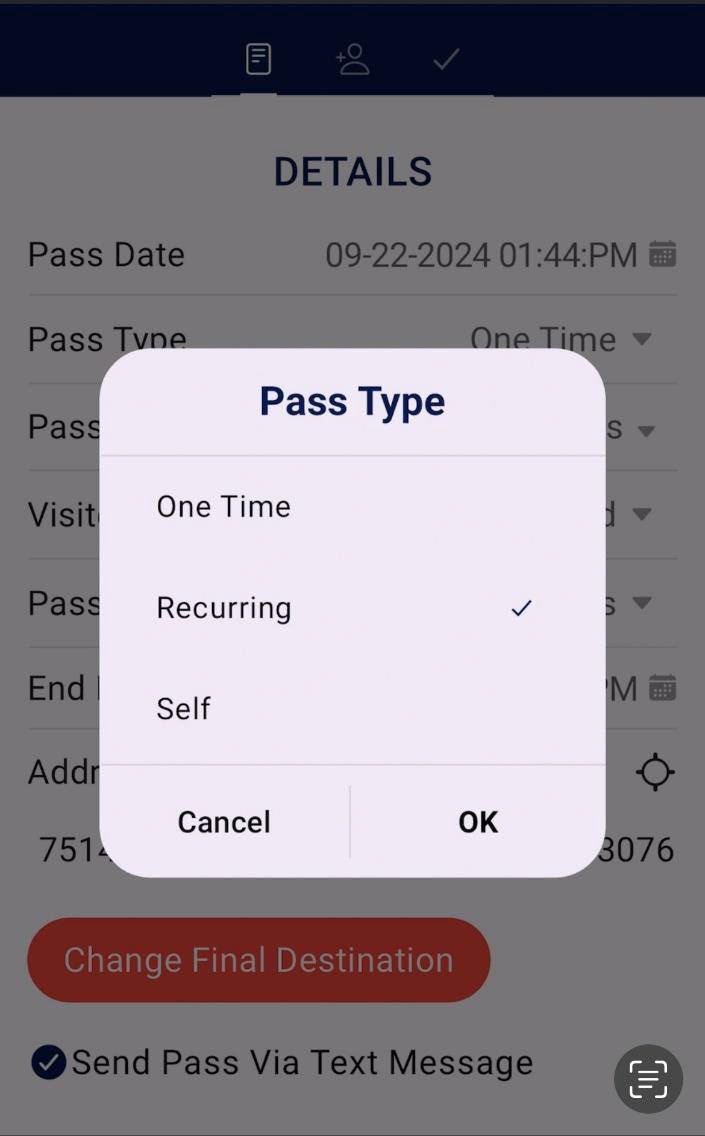
Pass type defaults to One-time.
Pass validity can be 3 – 48 hours. This means that the pass can be used one-time only within the chosen time frame.
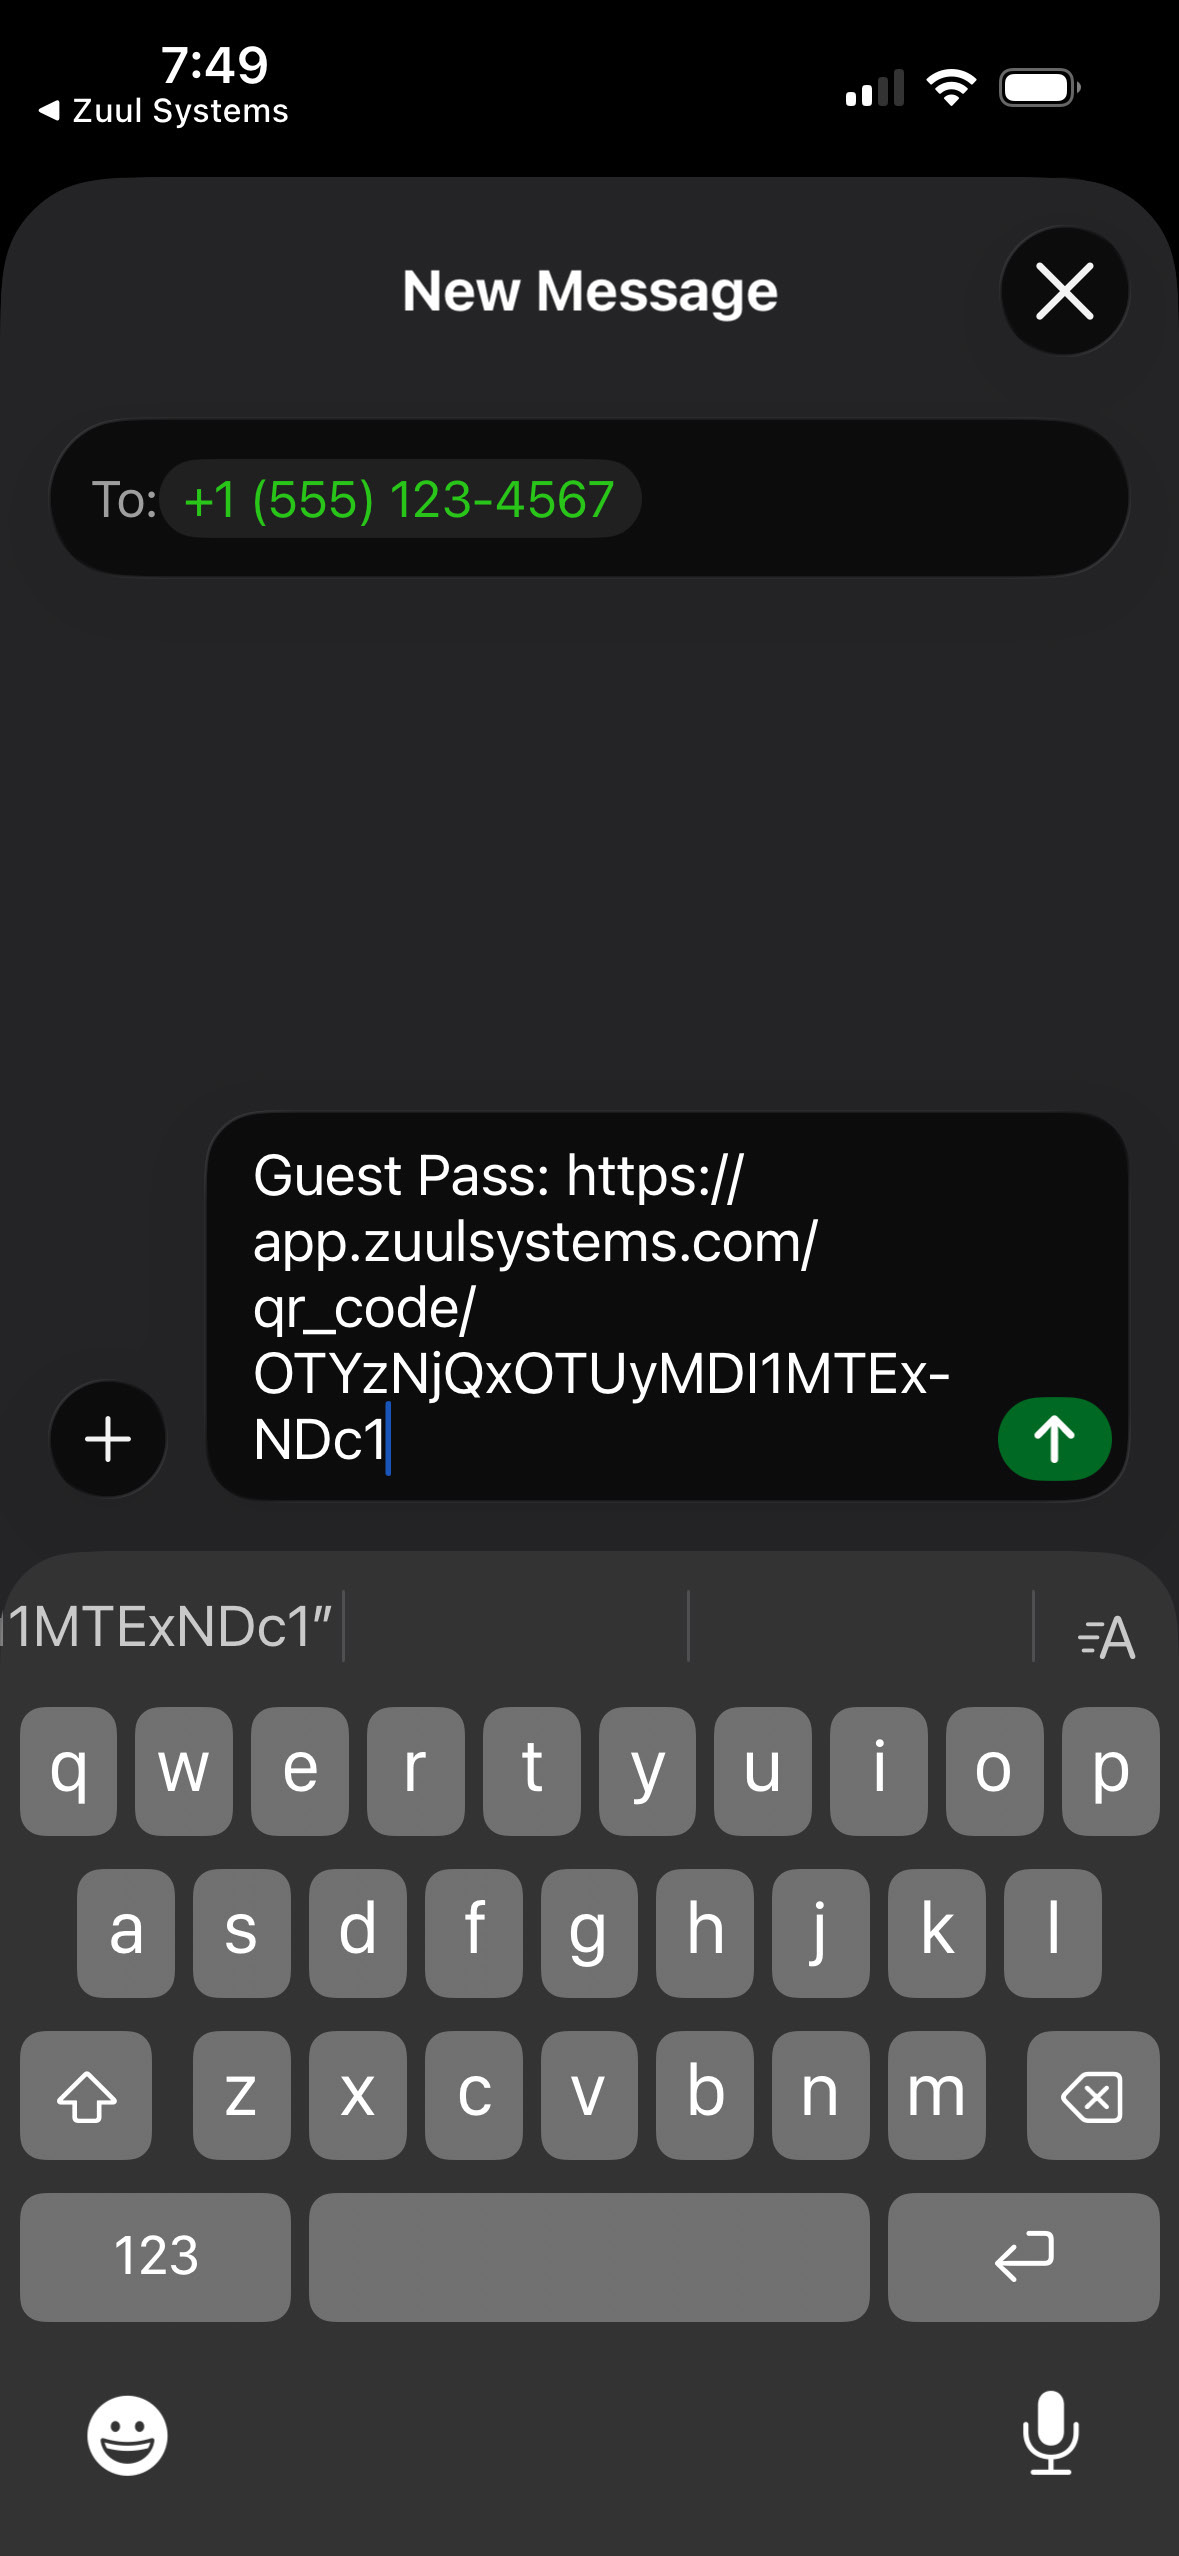
You can see that with a One-time pass we automatically give you the ability to send this pass by text message.
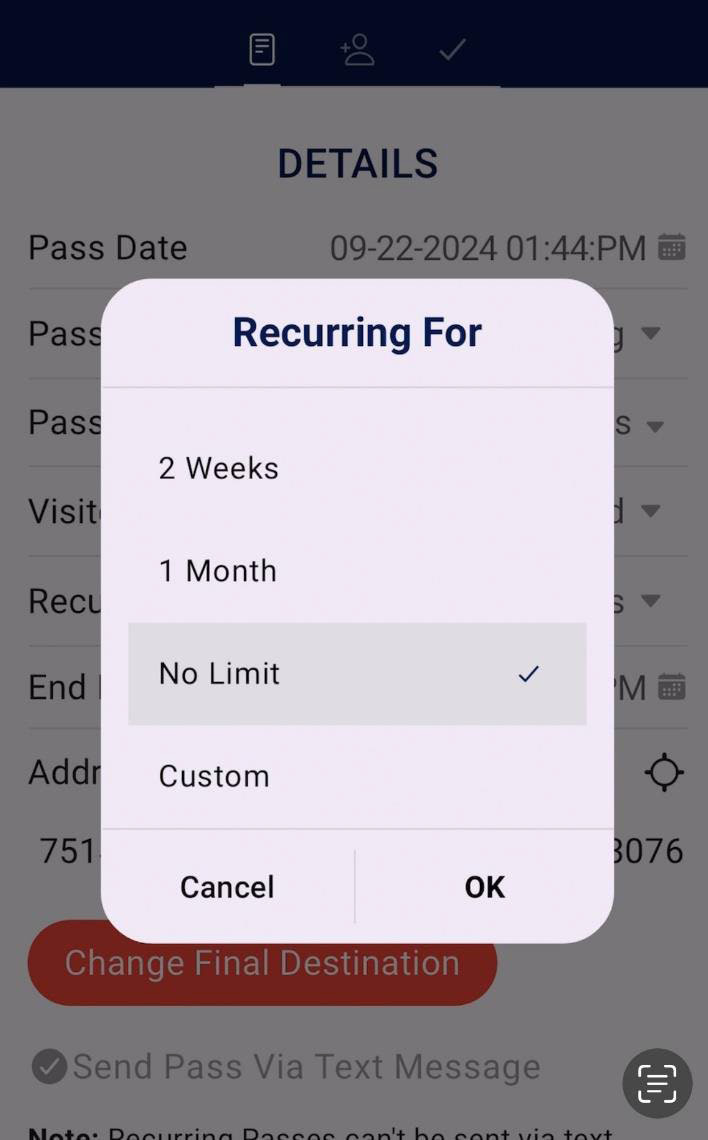
Create Your Own Recurring No Limit Pass
Recurring No-Limit Pass
Add Yourself as a Contact
Open your ZUUL Systems App and Press on the “CONTACTS” Tile.
Send a Recurring No-Limit Pass
When the page refreshes, you will see your name listed with 3 horizontal lines to the right.
Press on the “3 horizontal lines” and Select the top option, “Send a Pass”.
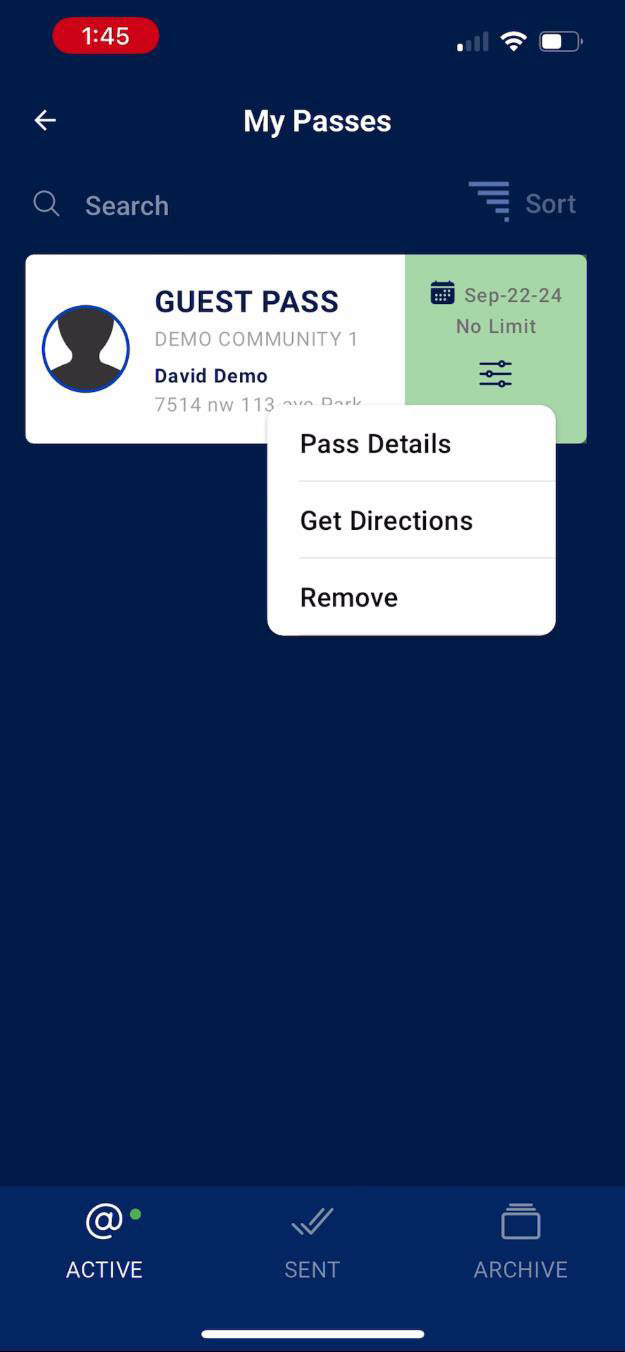
Using Your QR Code
To use your Recurring No Limit Pass, Press on the “PASSES” Tile on your dashboard.
On your pass, Press on the “3 horizontal lines” under No Limit and Select “Pass Details”.
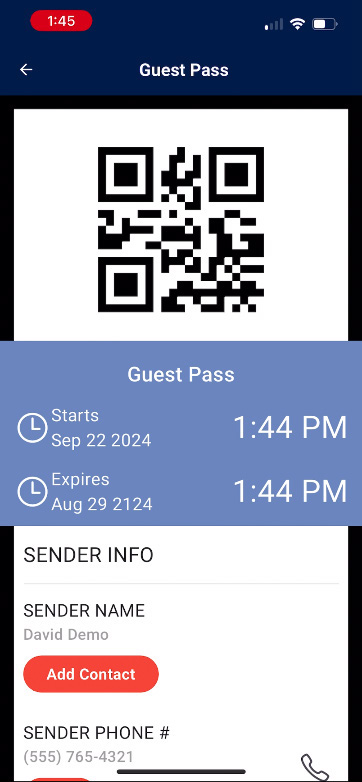
Scan your QR code by the officer or kiosk.
Once scanned, that QR code is no longer valid.
To receive your new QR code, go back to your dashboard and Press on “PASSES” Tile. Press on the “3 horizontal lines” under No Limit on your pass and Select “Pass Details”. A new QR code will be available for use (valid 15 minutes after prior recurring pass QR code was scanned).
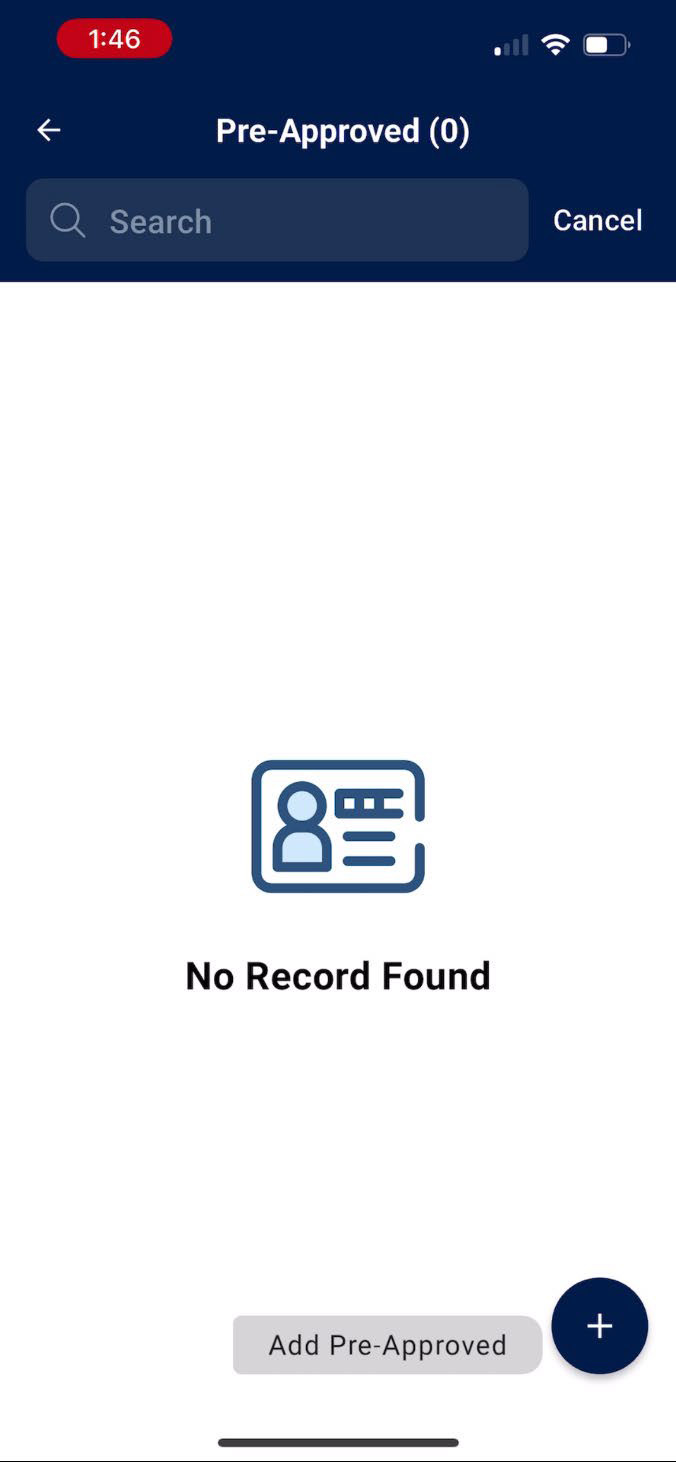
Pre-Approved Guest List
Your Pre-Approved Guest List
Access Your Pre-Approved List
Open your ZUUL Systems app and Press on the “PREAPPROVED” Tile.
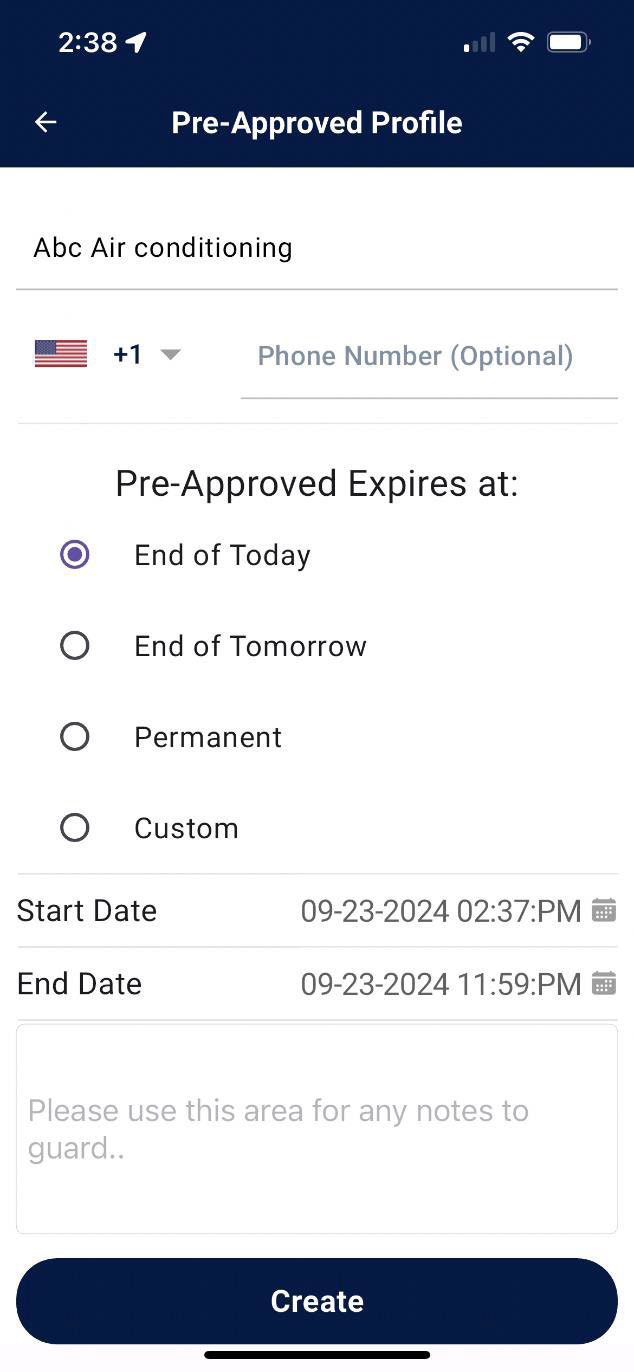
In the lower right corner, Press the “+” next to Add Pre-Approved.
For Vendors and Deliveries
For vendors and deliveries, you only need to enter the company name.
For Family and Friends
For family and friends, you need to enter both their name and cell phone number.
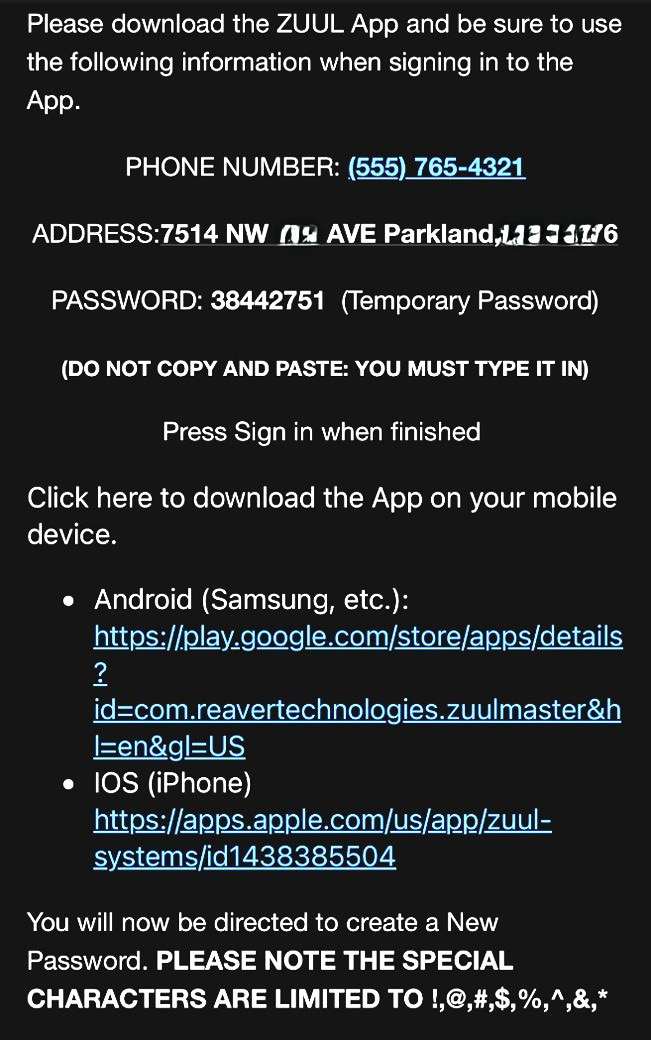
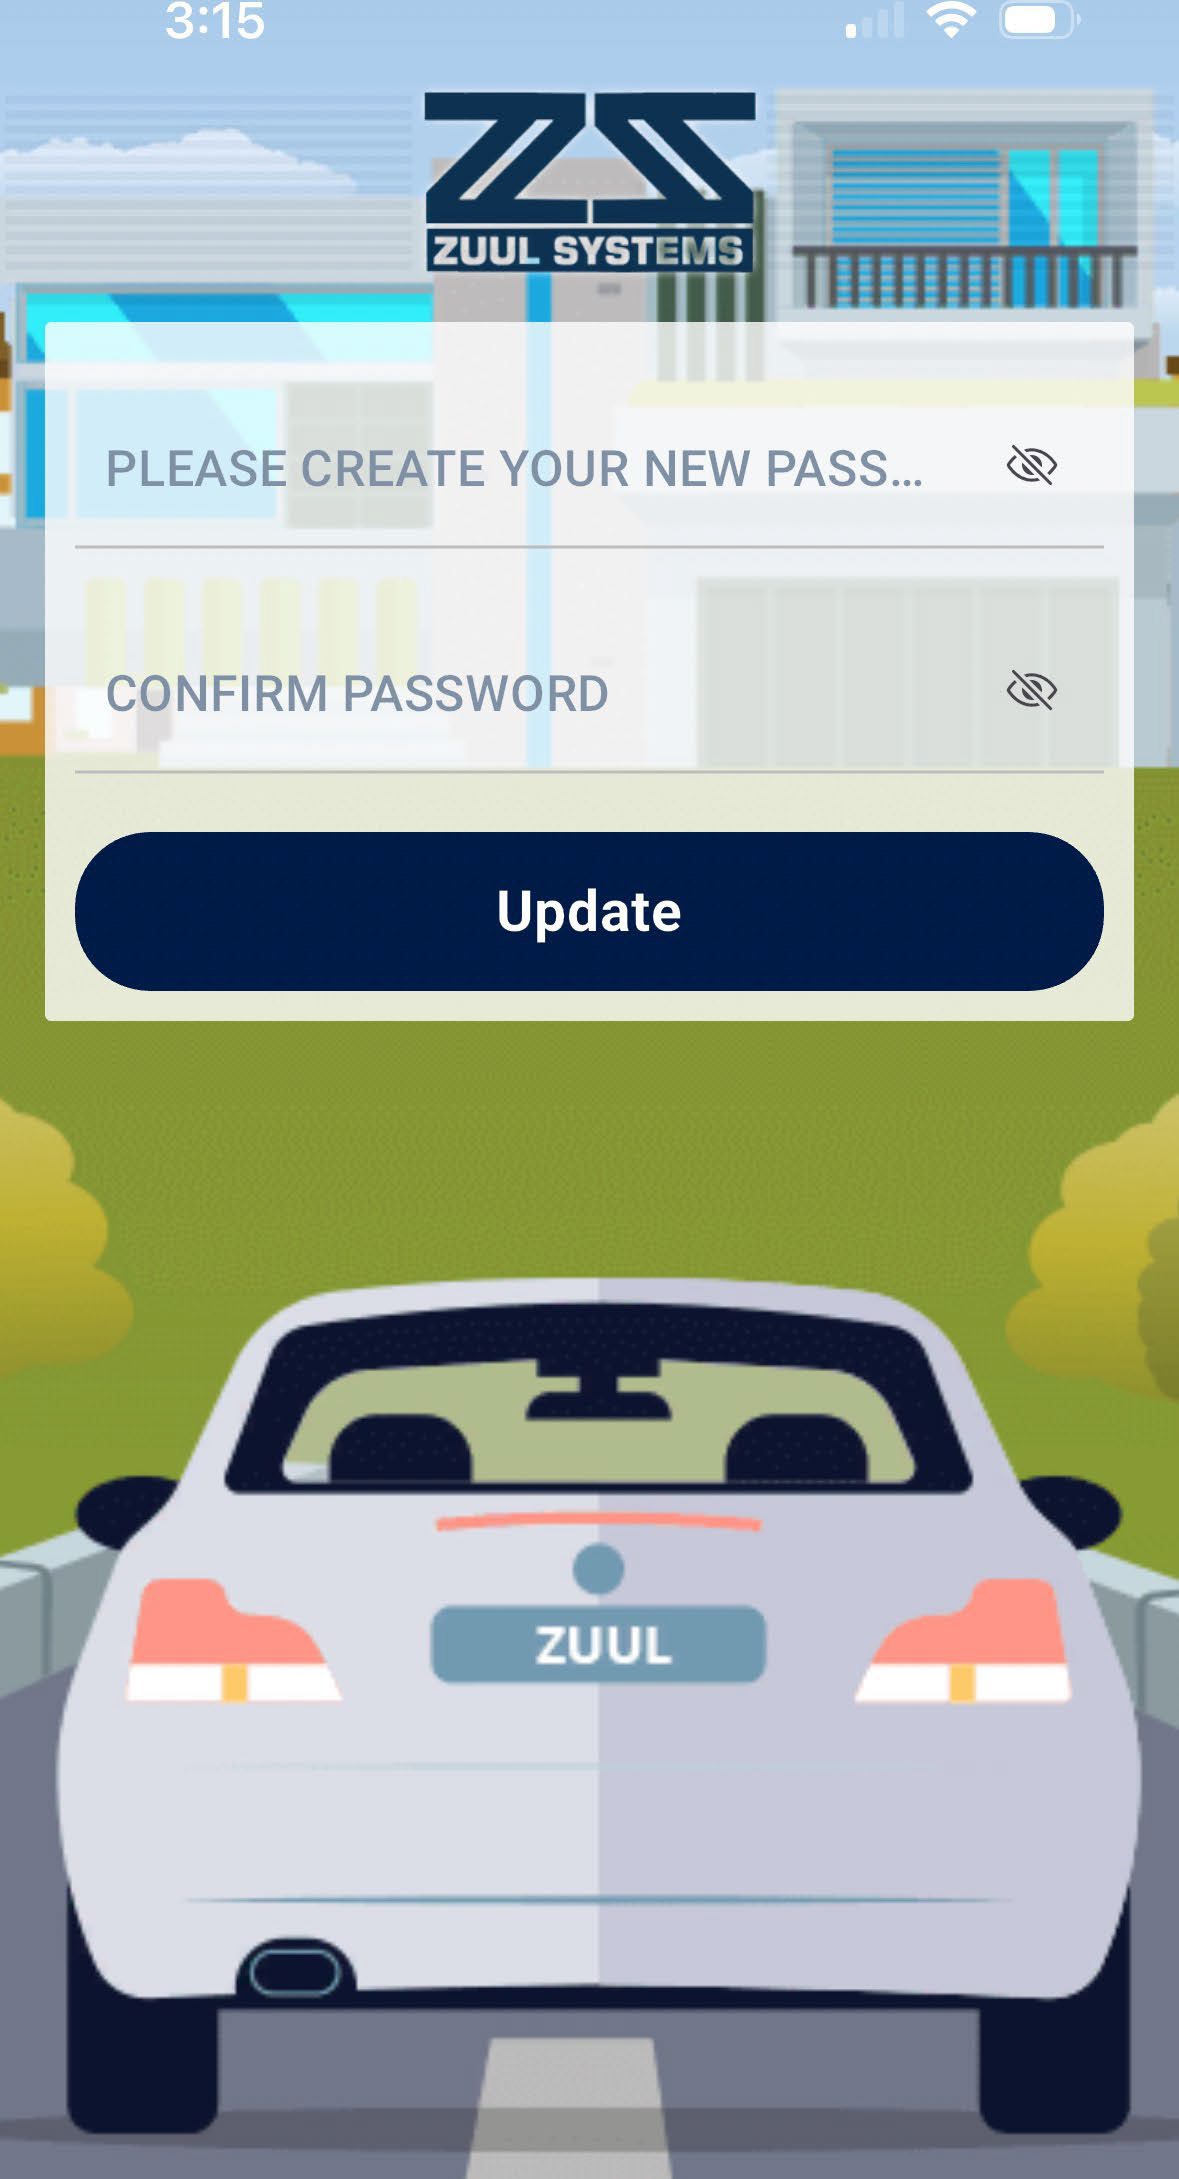
You will then be prompted to create and confirm your new password. Please note your new password must be at least 9 digits long, with at least 1 uppercase letter, 1 lowercase letter, 1 number, and 1 special character (!,@,#,$,%,^,&,*). Press the eyes to the right to see what you typed to make sure they match.
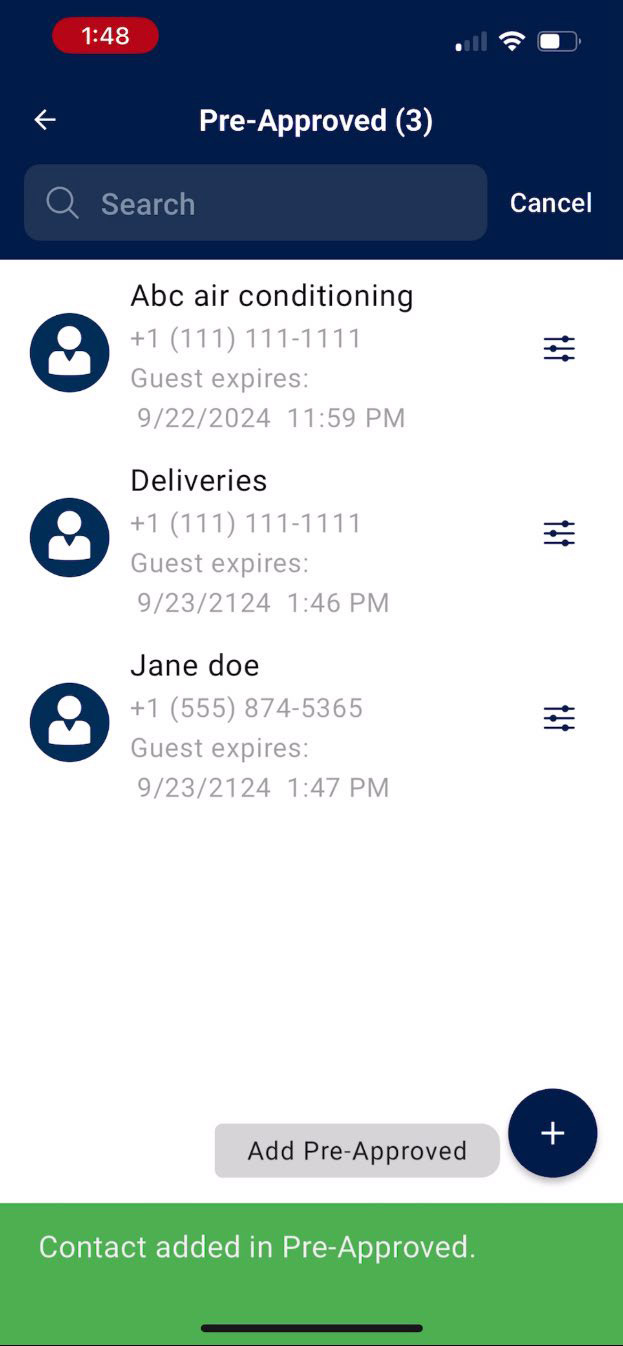
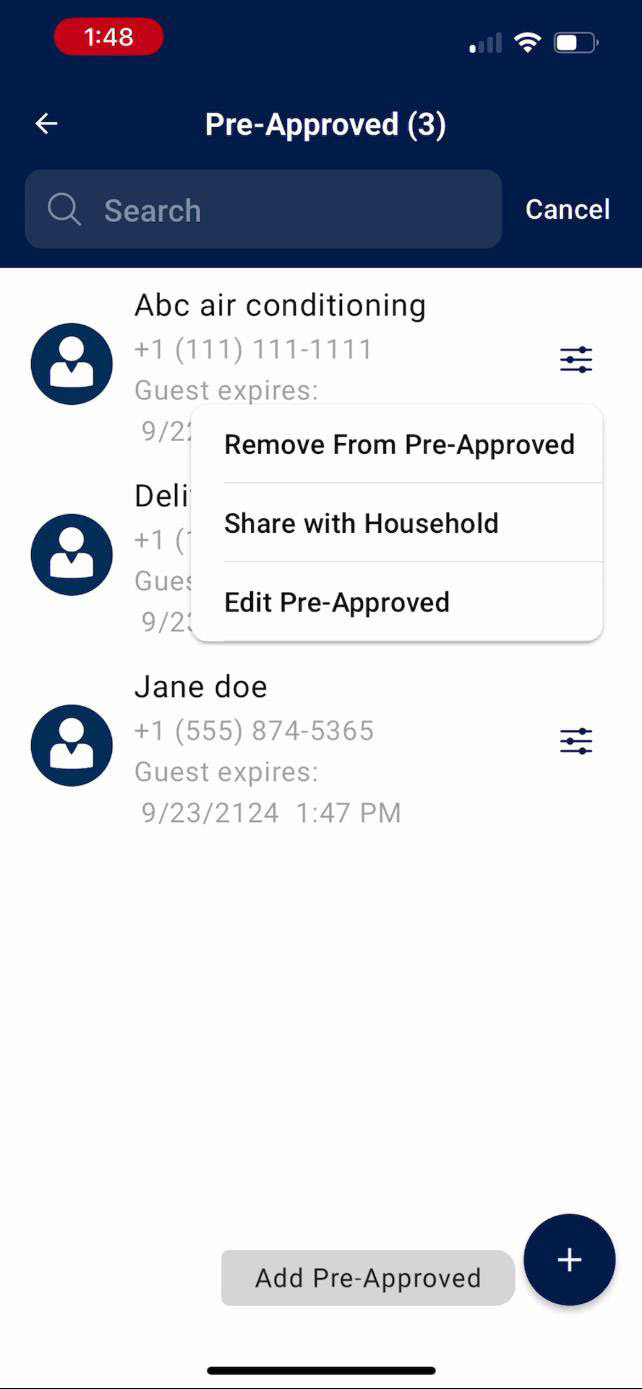
Managing Pre-Approved Entries
Your Pre-Approved list shows you your guest’s name, associated phone number, and expiration date. Please note, when the phone number is left empty, the result is 111-111-1111. When processing a guest with this generic phone number, the security officer is instructed to take a picture of this guest’s driver’s license.
Using the ZUUL Key
ZUUL Key
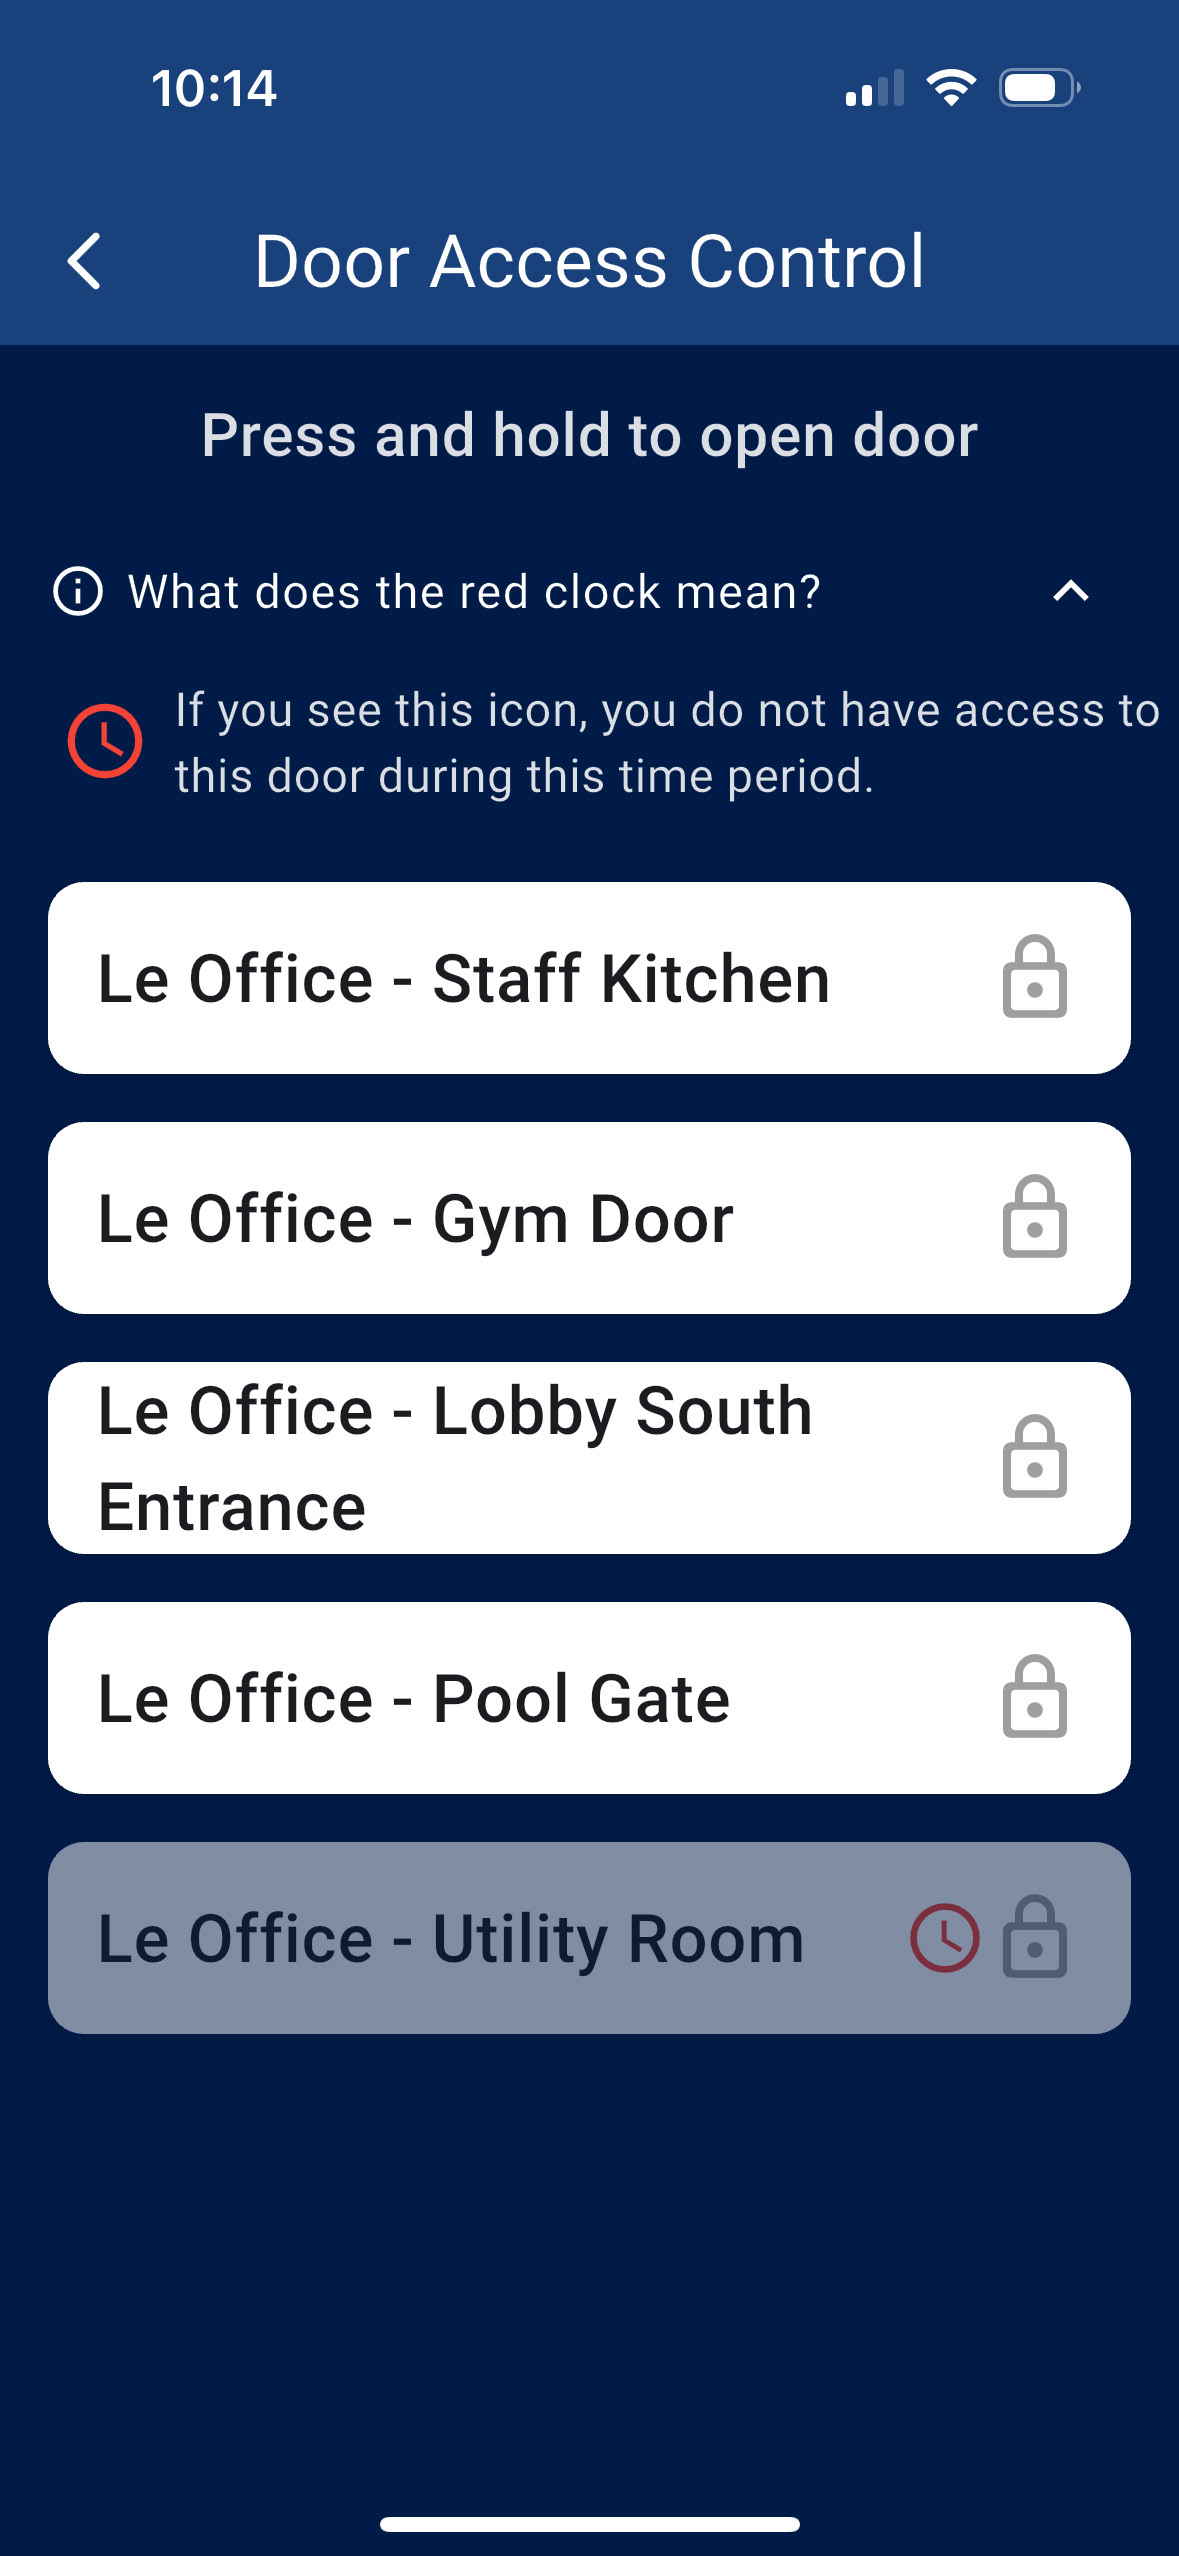
PRESS on the KEY in the upper right corner of your dashboard.
Note that a RED CLOCK means that you do not have access to that door at this time.
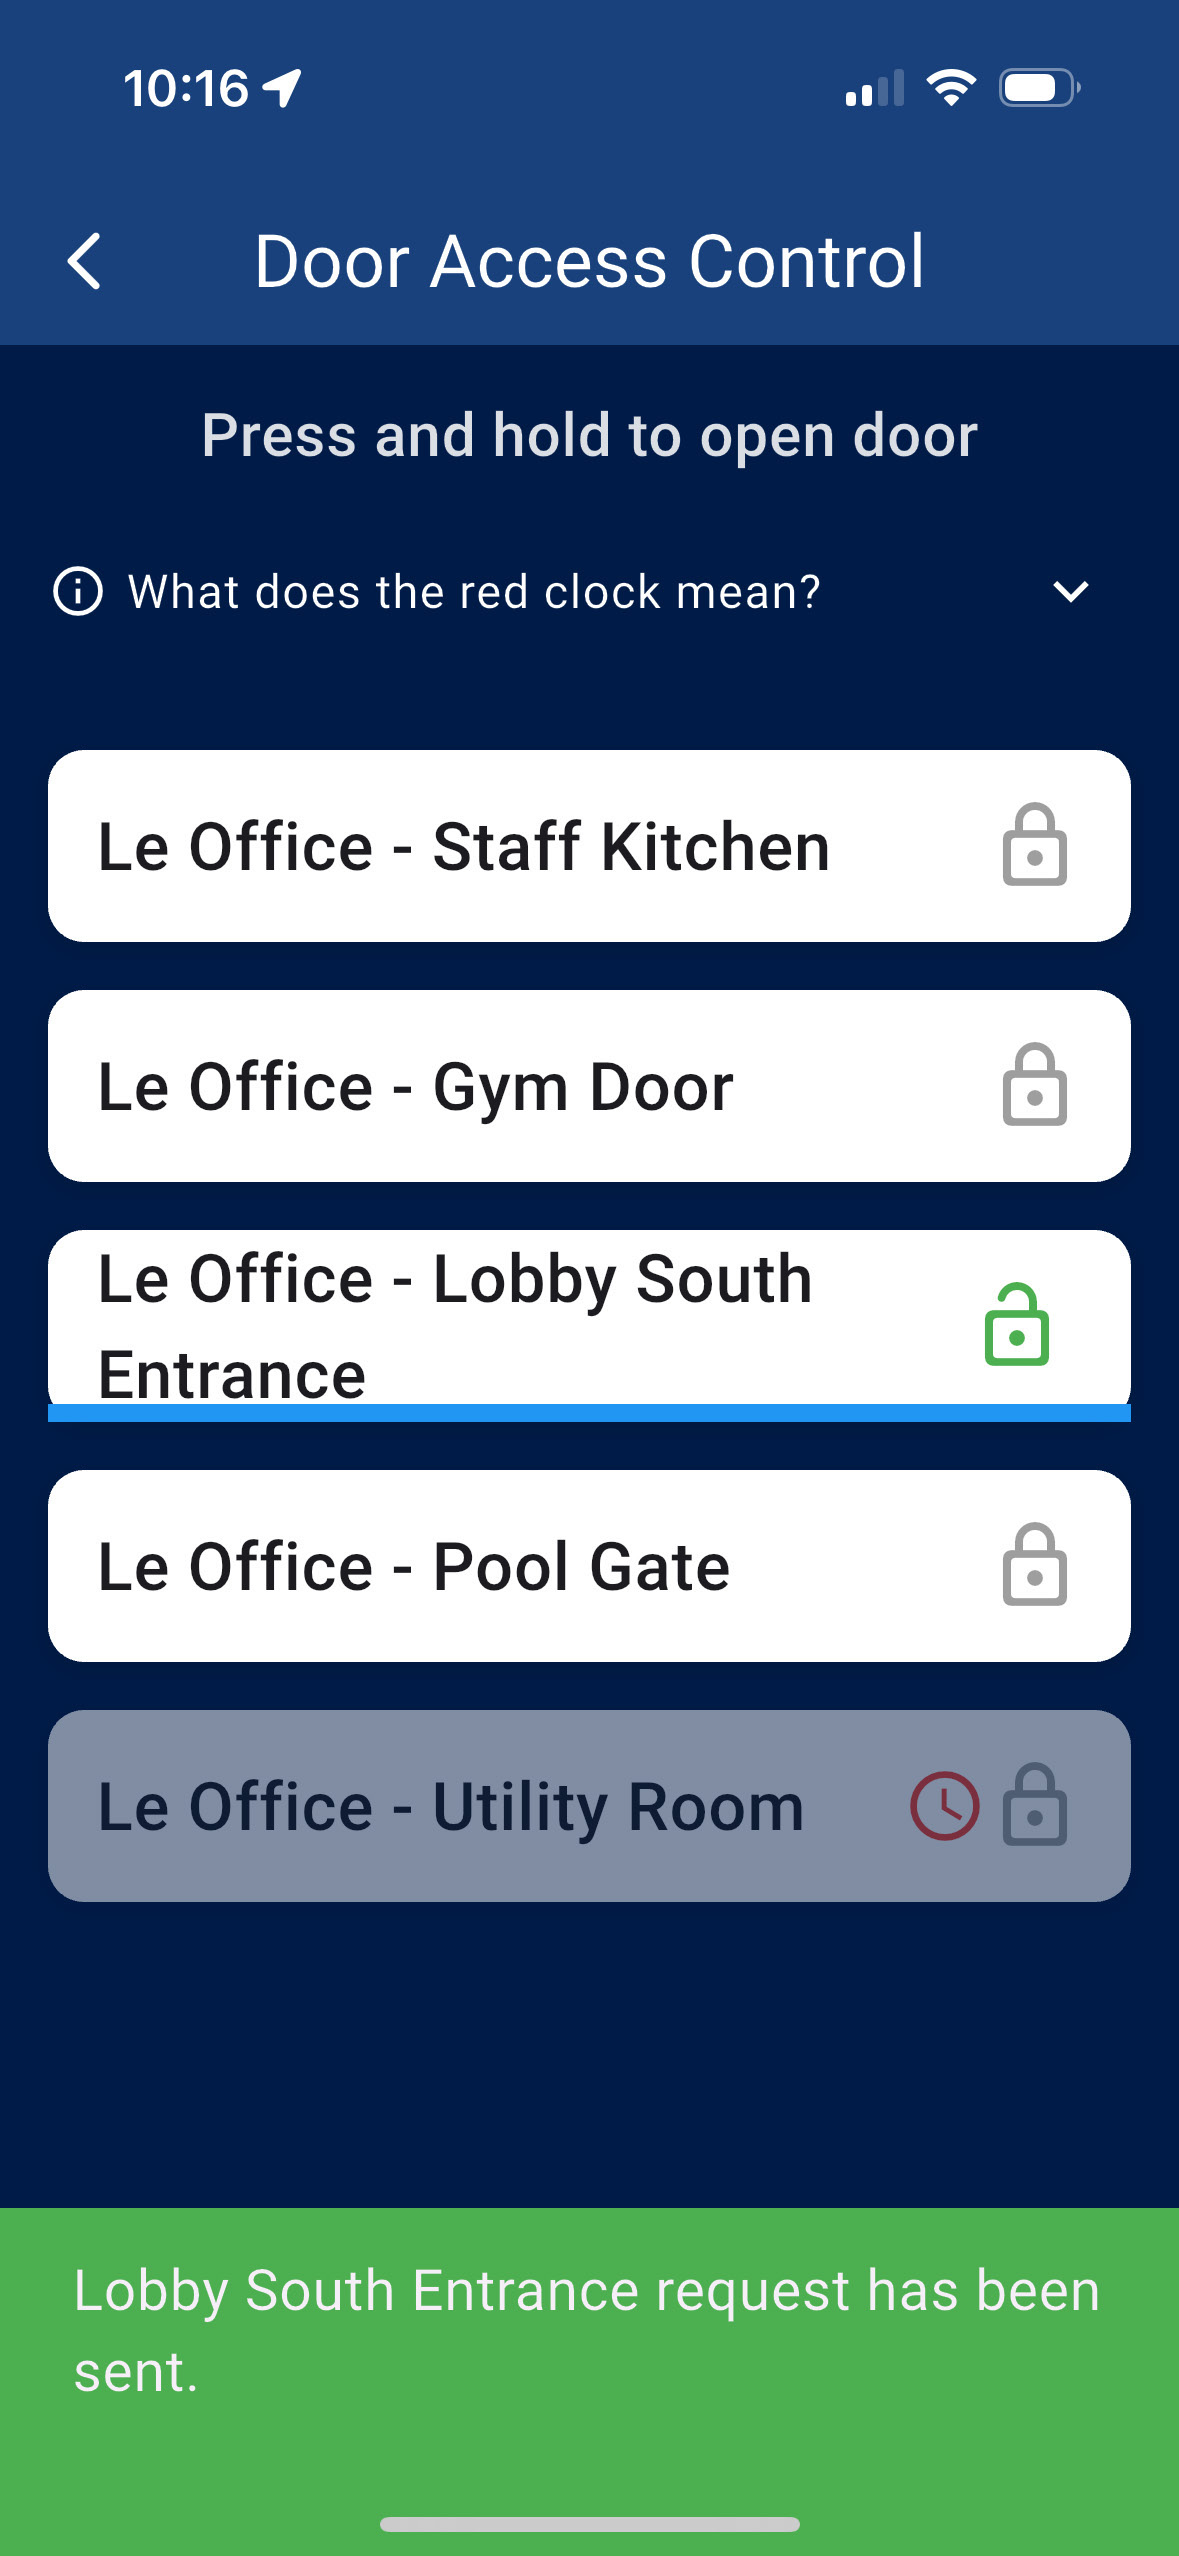
Press and hold your finger down on the door you want to open until you see the “Entrance request has been sent” message in green at the bottom.
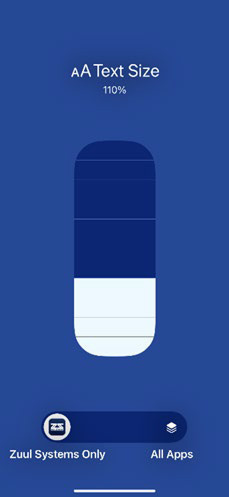
Adjusting Text Size
Adjusting Text Size (iOS)
How to Adjust Text Size
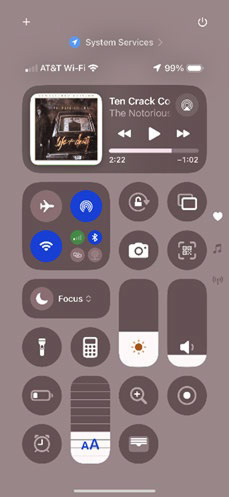
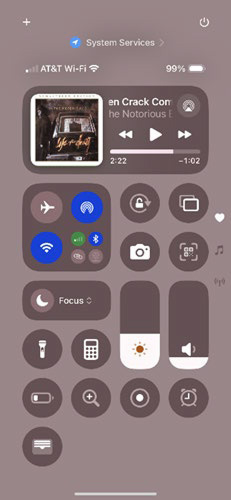
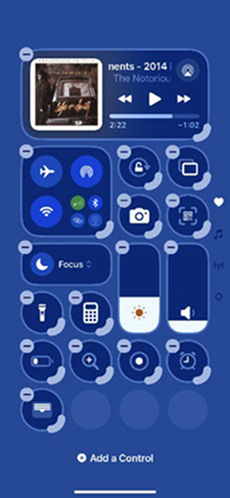
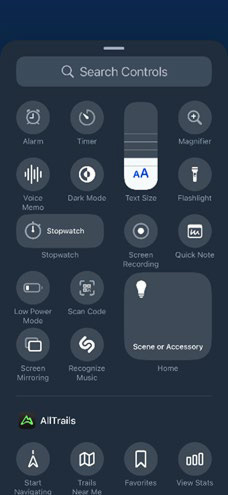
If you need larger text in the ZUUL app, you can adjust the text size through your iOS Control Center.
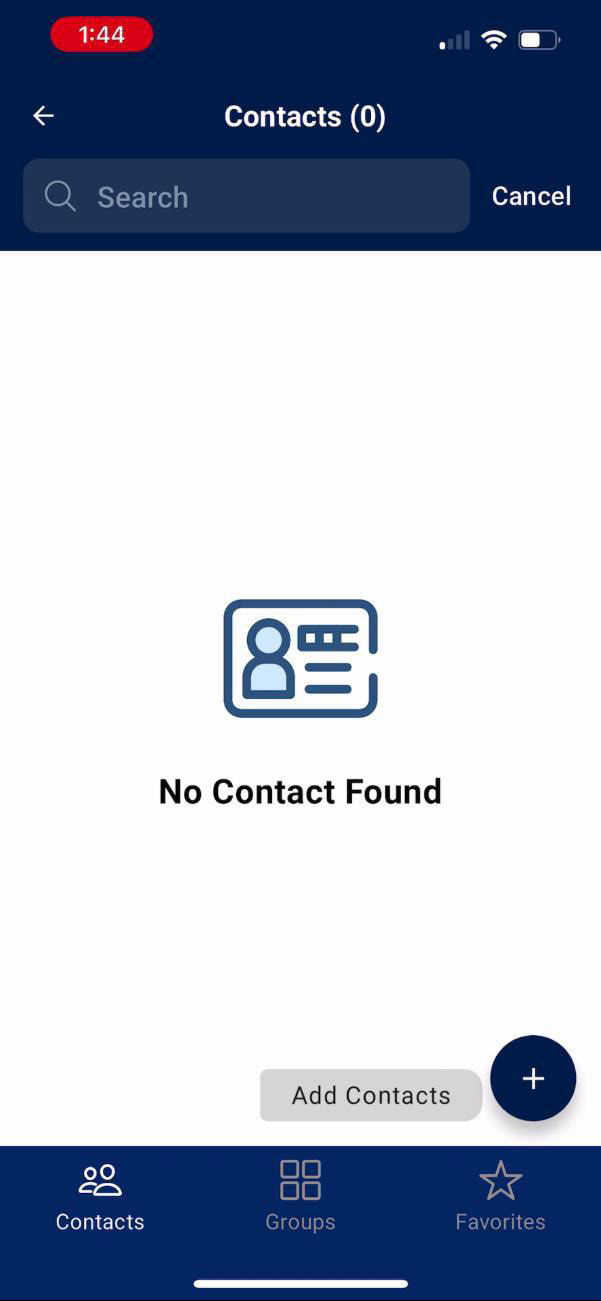
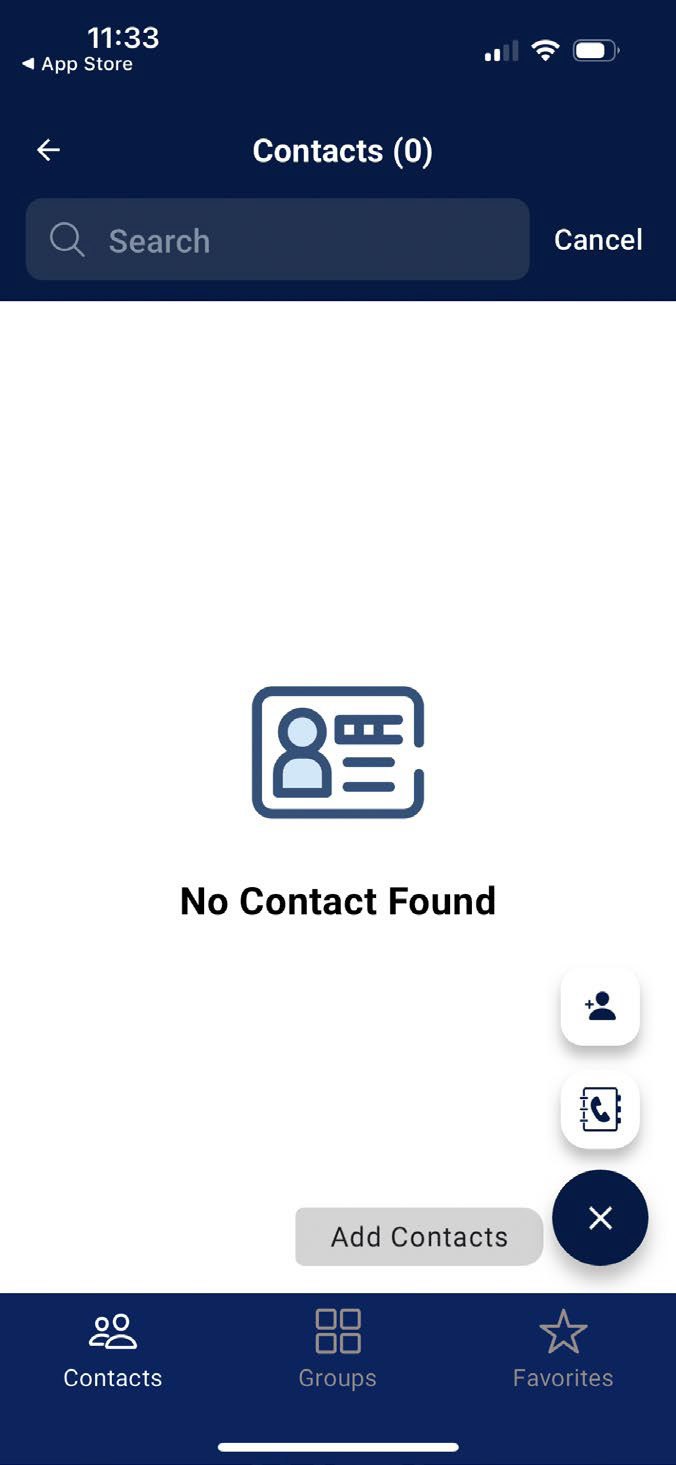
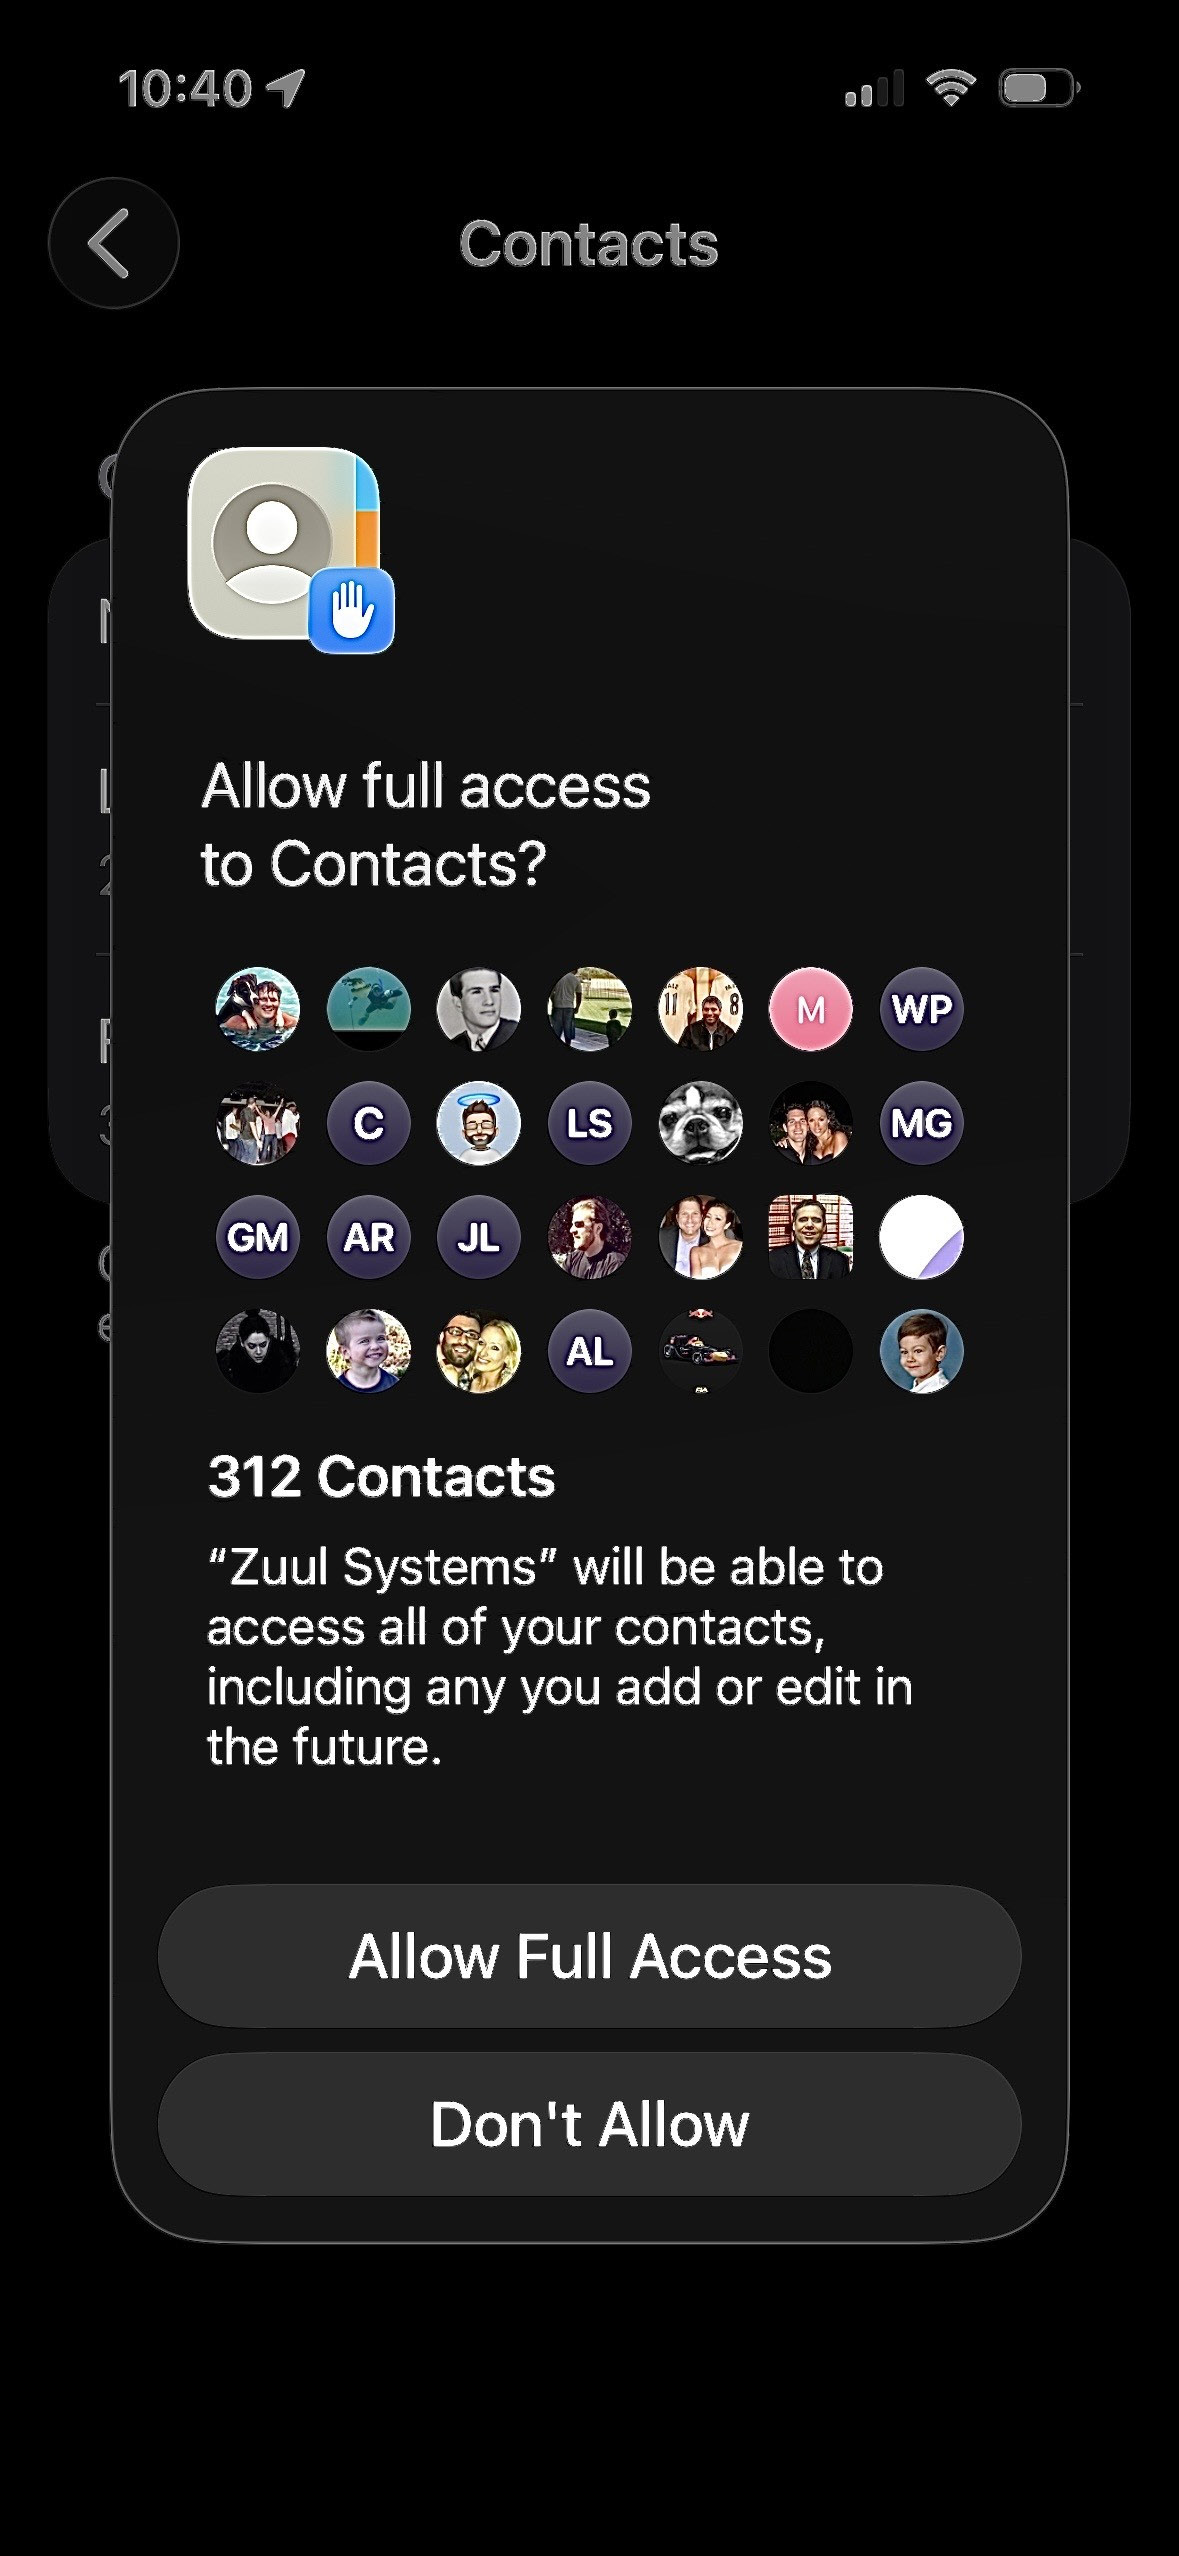
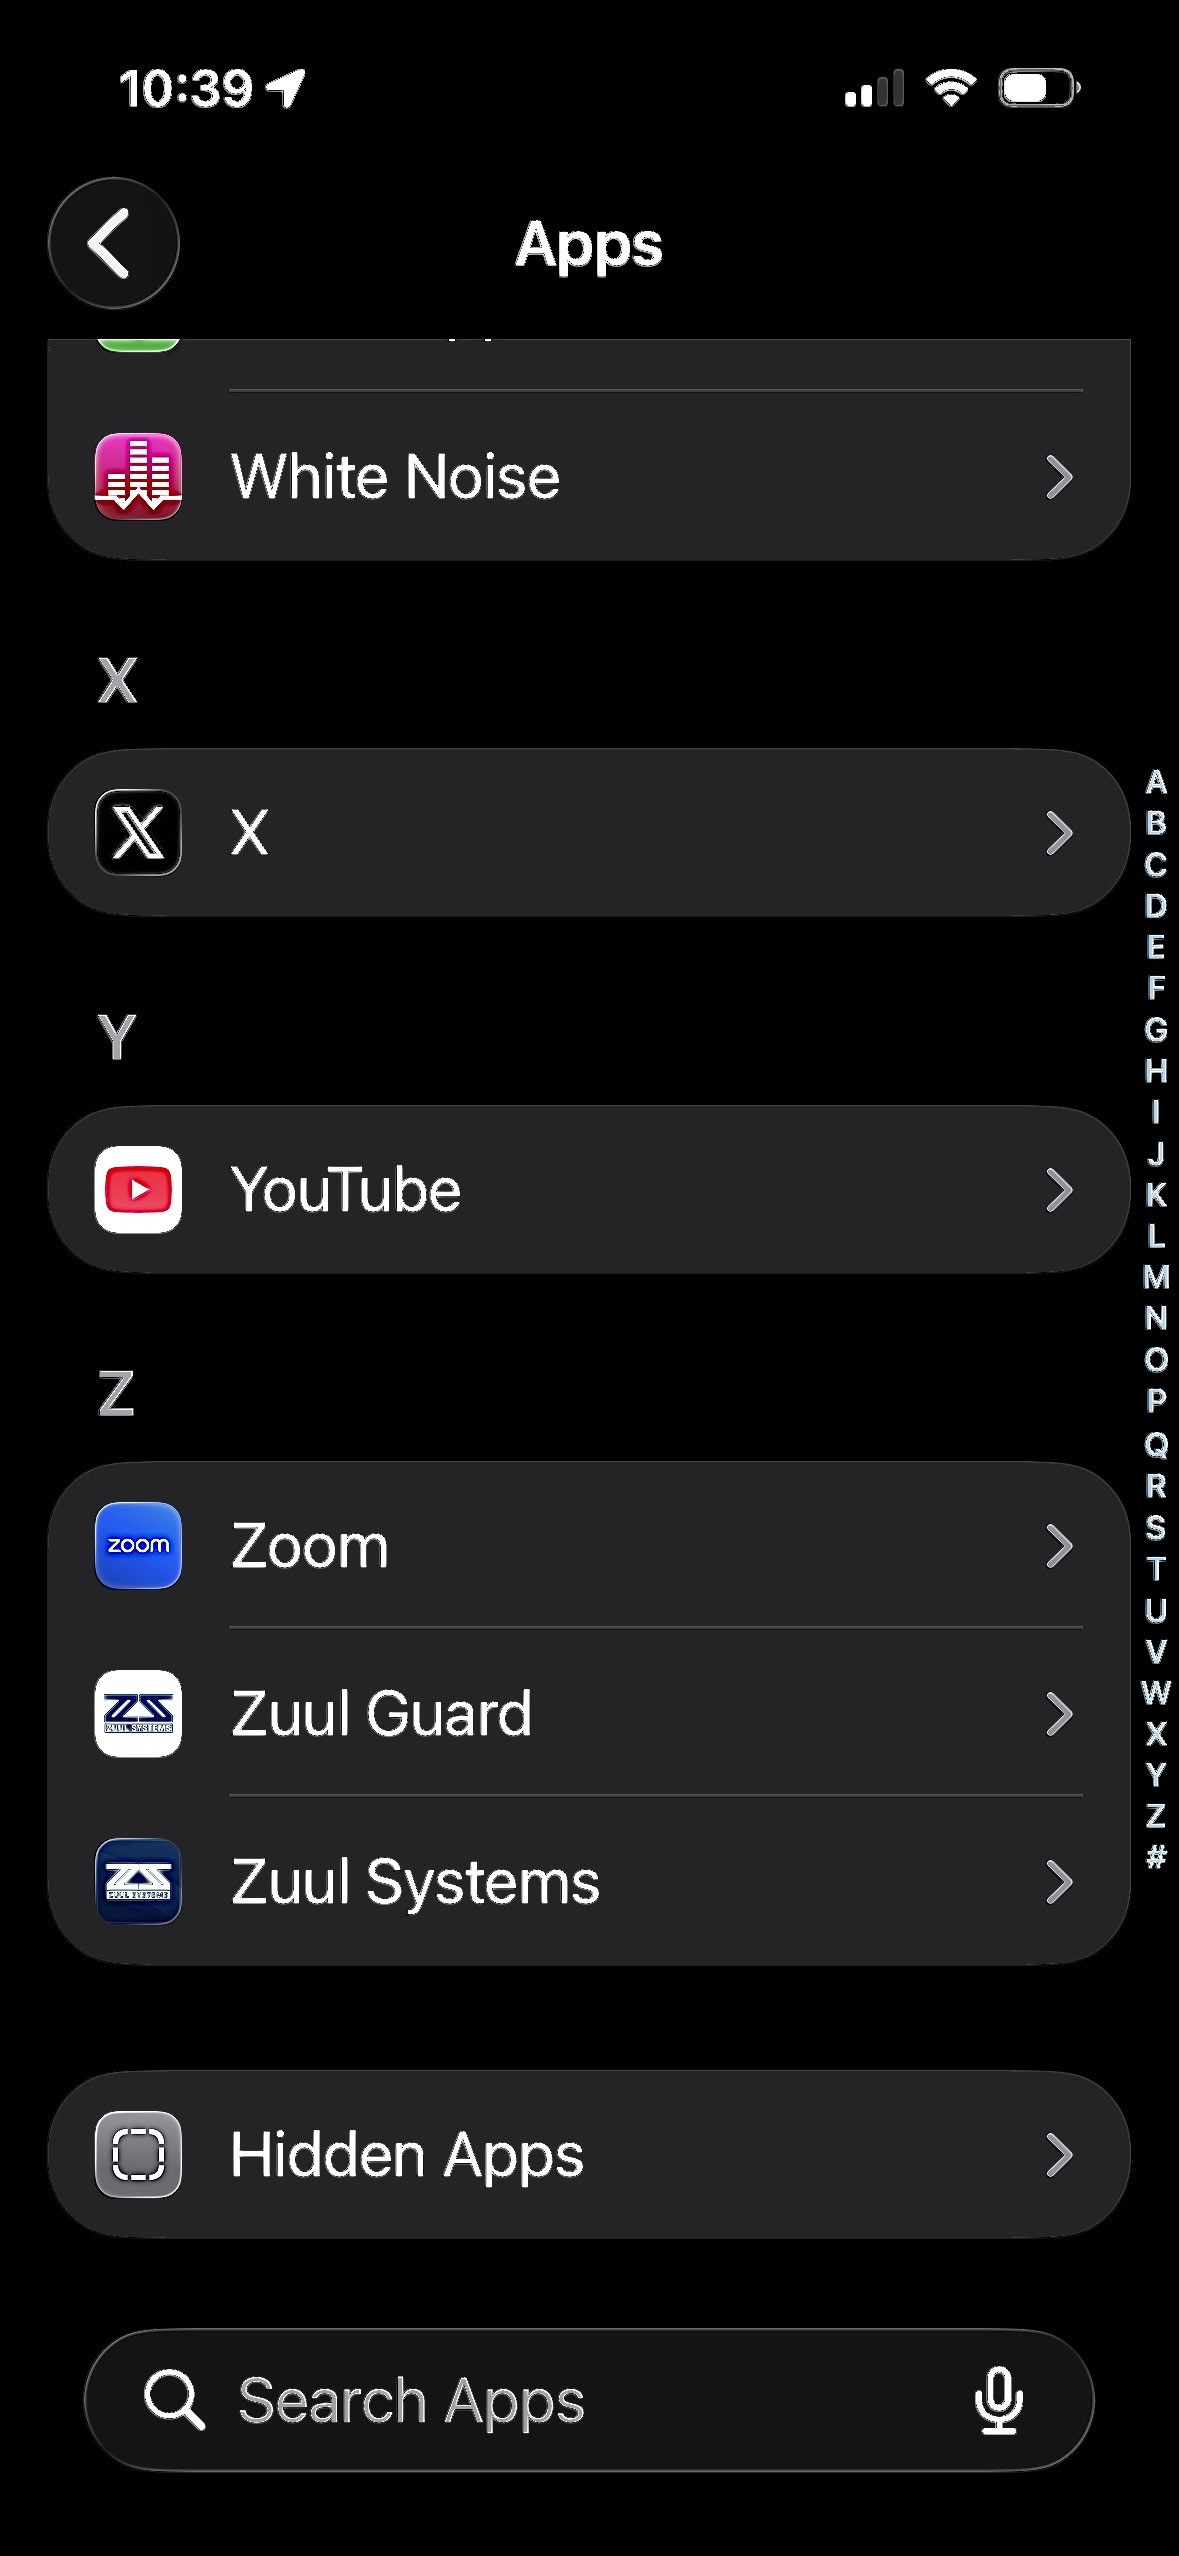
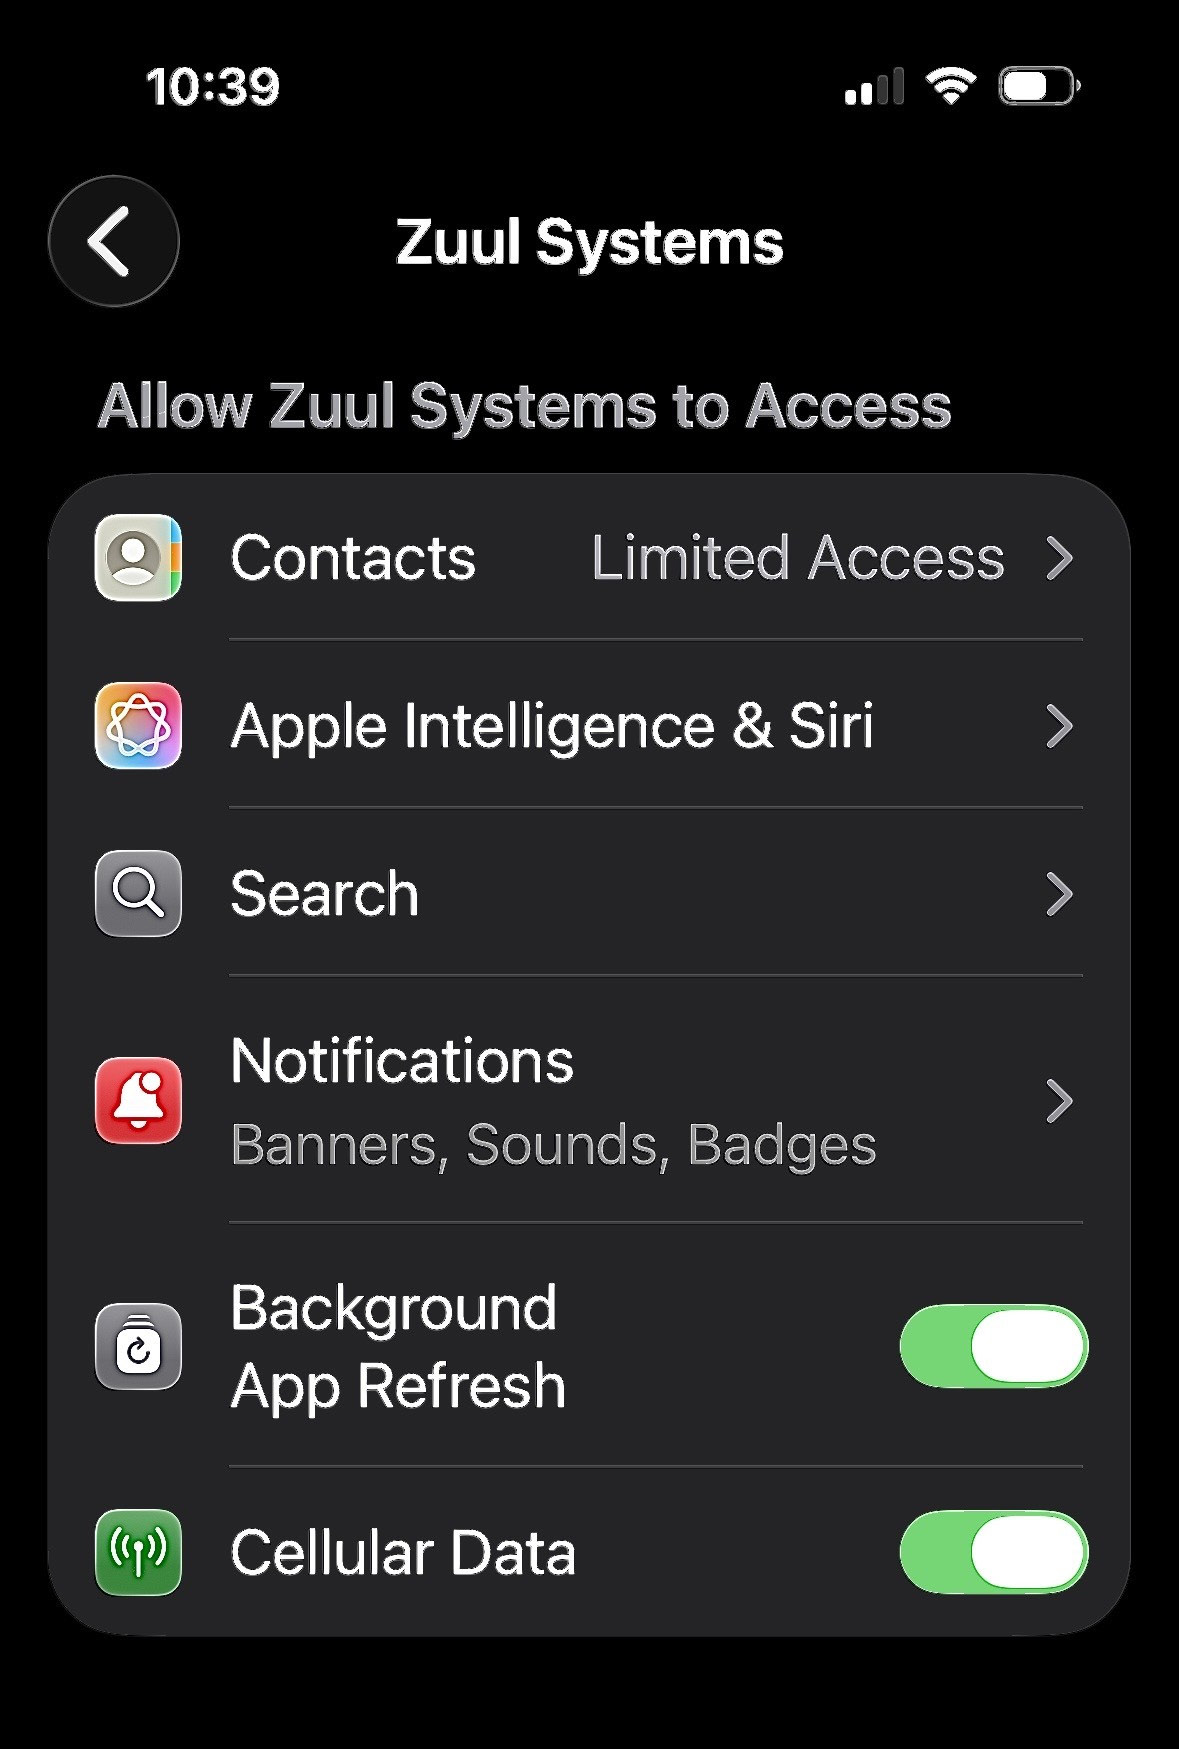
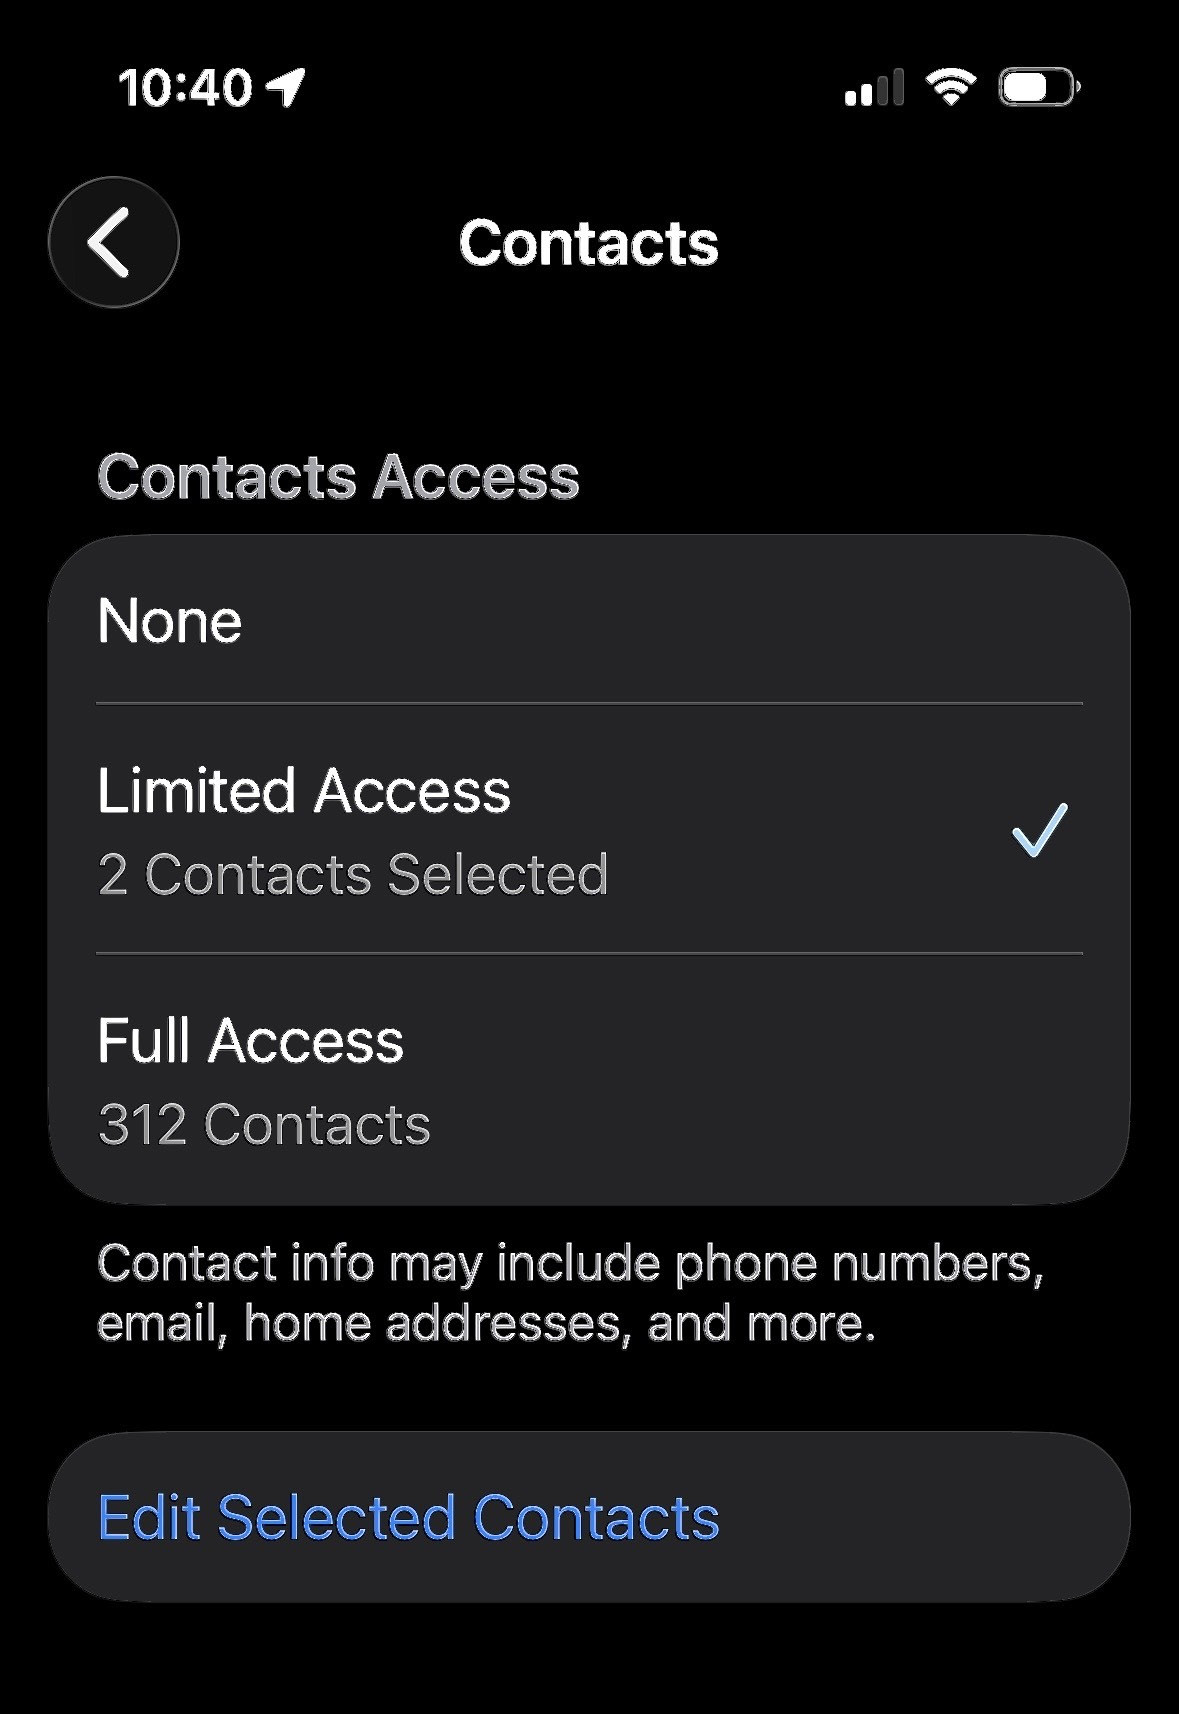
Fixing Limited Access to Contacts
Fixing Limited Access to Contacts
How to Fix Limited Access to Contacts